

This pumpkin pie sourdough bread brings the warm flavors of fall into a beautiful artisan loaf. Made with pumpkin puree, brown sugar, and pumpkin pie spice, it has a crisp crust, a soft and chewy crumb, and just enough sweetness to make it feel special.
Jump to Recipe
As soon as pumpkin season arrives, I begin looking for ways to bring those cozy flavors into our kitchen. This loaf has become one of our favorite fall sourdough recipes because it is flavorful without tasting like dessert. The pumpkin keeps the inside moist and tender, while the long fermentation gives the bread the depth of flavor we love in homemade sourdough.
We enjoy thick slices served warm with butter, and my children especially love adding a drizzle of maple syrup. It is also delicious spread with cream cheese or homemade apple butter and served alongside eggs and coffee for a cozy fall breakfast.
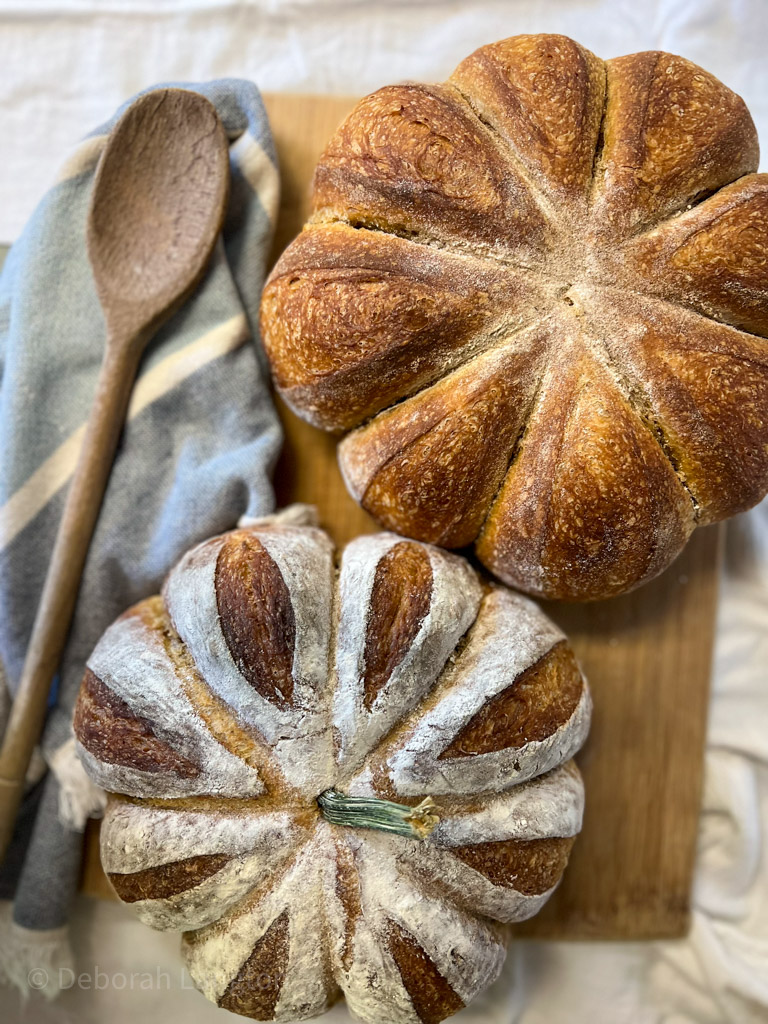
For an especially beautiful autumn loaf, you can tie the dough with baker’s twine before baking to give it the shape of a pumpkin. Add a cinnamon stick after baking for the stem, and you have a lovely bread to serve with breakfast, bring to a fall gathering, or place on the Thanksgiving table.

How to shape a Pumpkin Loaf
Shaping your sourdough like a pumpkin is such an easy way to make it beautiful for fall. The process is really simple, but there are a few things you will want to have on hand before you are ready to shape and bake your loaf.
In this separate tutorial, I’ll show you how to tie a pumpkin-shaped sourdough loaf, which tools you will need, and a few things I learned through trial and error.

What Makes Sourdough Bread Different?
The first difference is the way the bread rises. Traditional sourdough does not rely on commercial yeast. Instead, an active sourdough starter contains wild yeast and beneficial bacteria that ferment the flour and naturally leaven the bread.
That slow fermentation may also offer nutritional benefits. It can reduce some of the phytic acid naturally present in flour, which may help make certain minerals more available for our bodies to absorb. The exact benefits will vary depending on the flour and fermentation process, so I would not say that every sourdough loaf is automatically healthier than every yeast bread. Still, I appreciate the traditional process and the simple ingredients that go into making it.
The second difference is the flavor. Sourdough has a wonderful depth of flavor that is difficult to achieve with a quickly risen yeast bread. The long fermentation gives this pumpkin loaf a subtle tang that balances the brown sugar and warm pumpkin pie spices.
Finally, there is the texture. Artisan sourdough bread has a chewy interior surrounded by a crisp, golden crust. Soft breads can certainly be made with sourdough too, but we especially love that classic combination of a crunchy crust and chewy crumb.
This post contains affiliate links, which means I may earn a small commission at no additional cost to you. You can read my full disclosure here.
Tools for making Pumpkin Pie Sourdough Bread
You do not need a lot of special equipment to make this bread, but these are the tools I find most helpful:
- Large glass bowl: Choose one with enough room for the dough to expand during bulk fermentation.
- Dough whisk: Helpful for combining the thick, sticky dough, although a sturdy wooden spoon or your hands will also work.
- Banneton basket: Supports the shaped loaf while it rests before baking. I use this banneton set because it also includes a lame, scrapers, dough whisk, duster, and cleaning brush.
- Kitchen scale: Measuring the ingredients by weight gives you more consistent results when making sourdough.
- Lame or sharp razor blade: Allows steam to escape in a controlled way and gives you the opportunity to add a decorative score.
- Dutch oven: Traps steam around the bread during the first part of baking, helping the loaf rise and develop a crisp crust.
- Parchment paper: Makes it easier and safer to lower the shaped dough into the hot Dutch oven.
- Baker’s twine: Needed only if you want to shape your bread like a pumpkin. Be sure to use food-safe baker’s twine rather than regular craft twine.

Ingredients
- Pumpkin puree: Adds real pumpkin flavor, moisture, and the loaf’s beautiful golden-orange color. Use plain pumpkin puree, not sweetened pumpkin pie filling.
- Bread flour: Its higher protein content helps the dough develop enough strength to hold its shape despite the added moisture from the pumpkin.
- Active sourdough starter: Your starter should be bubbly, active, and at or near its peak after feeding.
- Brown sugar: Gently sweetens the loaf and complements the pumpkin and warm spices.
- Pumpkin pie spice: Gives the bread its cozy fall flavor. You can use a store-bought blend or my favorite homemade pumpkin pie spice recipe.
- Water: Hydrates the flour and helps bring the dough together. Because pumpkin puree contains moisture, this recipe uses less water than a traditional artisan sourdough loaf.
- Salt: Balances the sweetness, strengthens the dough, and brings out the flavor of the pumpkin and spices.
Don’t Have a Sourdough Starter Yet?
If you’re new to sourdough baking, you’ll need an active, established starter before making this recipe. Cultures for Health offers a San Francisco Sourdough Starter that you can activate and maintain at home.
Be sure to follow the activation instructions and allow your starter to become reliably active before using it in this bread recipe.
How to make Pumpkin Pie Sourdough Bread
Begin by weighing your active sourdough starter into a large mixing bowl. Add the water and stir until the starter is mostly dissolved.
Add the pumpkin puree, brown sugar, pumpkin pie spice, and salt. Stir until the ingredients are well combined.

Weigh the bread flour and add it to the pumpkin mixture. Mix until no dry flour remains. The dough will look shaggy and feel very tacky at this point.
Cover the bowl and allow the dough to rest for 30 minutes. This rest gives the flour time to fully absorb the moisture and will make the dough easier to strengthen during the stretch and folds.
When developing this recipe, I started with my Easy No-Knead Sourdough Bread and adjusted the ingredients to account for the moisture in the pumpkin puree.
Stretch and Fold the Dough
After the 30-minute rest, begin your first round of stretch and folds. With a damp hand, grab one side of the dough, gently stretch it upward, and fold it over the center. Turn the bowl one-quarter turn and repeat. Continue until you have stretched and folded all four sides of the dough.
Cover the bowl and let the dough rest for approximately 30 minutes. Repeat this process for a total of four rounds of stretch and folds. The timing does not have to be exact, but setting a timer can help you remember.
The dough may still feel wet and sticky during the first round. With each set of stretch and folds, it should become smoother, more elastic, and easier to handle.
After the final round, cover the bowl and allow the dough to bulk ferment. Depending on the temperature of your kitchen and the strength of your starter, this may take around 6 to 10 hours. Rather than relying only on the clock, watch the dough. It should look noticeably larger and puffier, feel lighter, and show bubbles along the sides or surface.
In a warm kitchen, check the dough sooner to prevent over-fermentation. In a cooler kitchen, it may need more time. I often allow mine to ferment overnight, but the dough’s appearance is a more reliable guide than an exact number of hours.
Shape the Pumpkin Pie Sourdough Bread
When the dough has finished bulk fermenting, gently turn it out onto a lightly floured work surface. It should feel soft and slightly tacky but should not cling heavily to your hands or the counter.

Shape the dough into a tight boule by drawing the outer edges toward the center. Turn the loaf over so the smooth side is facing upward. Cup your hands around the dough and gently pull it toward you across the counter, rotating as needed, until the surface becomes smooth and taut. Try not to tear the dough or press out all the air that developed during fermentation.
Place the shaped dough into a well-floured banneton with the smooth side facing down and the seam facing up. Pinch together any loose areas along the seam so the loaf holds its shape.
Rest and Score the Boule
Cover the banneton and allow the dough to rest while the oven and Dutch oven preheat. Preheat the oven to 450°F with the covered Dutch oven inside for approximately 30 minutes.
Place a sheet of parchment paper over the banneton. Hold the parchment securely against the dough and carefully turn the banneton over, releasing the loaf onto the paper.
If you would like to create a pumpkin-shaped loaf, tie the dough with food-safe baker’s twine before scoring it. Follow my complete pumpkin-shaped sourdough tutorial for step-by-step instructions. You can also skip the twine and score the loaf as you normally would.
Bake your Pumpkin Pie Sourdough Bread
Carefully lower the dough and parchment paper into the hot Dutch oven. Cover with the lid, reduce the oven temperature to 425°F, and bake for 20 minutes.
Remove the lid and continue baking for another 25–30 minutes, or until the crust reaches your desired color. The center of the loaf should reach approximately 200°F when checked with an instant-read thermometer.
Transfer the bread to a wire cooling rack and allow it to cool completely before slicing. Cutting it too soon can leave the crumb gummy—even though waiting while the kitchen smells like pumpkin pie may be the hardest part of the recipe.

Sample Baking Schedule #1: Mix in the Evening and Bake in the Morning
This schedule works well when your kitchen is cool enough for the dough to bulk ferment overnight. In a warm kitchen, the dough may ferment more quickly and should be checked sooner.
12:00 p.m. — Feed your starter.
Allow it to become bubbly and active. Mine generally doubles within about four hours, although your starter may be faster or slower.
4:00 p.m. — Mix the dough.
Once your starter has doubled and is bubbly and active, combine the ingredients. Cover the bowl, and allow the dough to rest for 30 minutes.
4:30 p.m. — Complete the first round of stretch and folds
5:00 p.m. — Complete the second round of stretch and folds
5:30 p.m. — Complete the third round of stretch and folds
6:00 p.m. — Complete the fourth round of stretch and folds and begin bulk fermentation
Cover the bowl and allow the dough to bulk ferment overnight.
The Next Morning
6:00–8:00 a.m. — Check and shape the dough. Once the dough looks noticeably larger and puffy and has bubbles along the sides or surface, shape it and place it in a floured banneton.
Preheat the oven and Dutch oven to 450°F for approximately 30 minutes while the shaped loaf rests.
Turn the dough out onto parchment paper, tie it with baker’s twine if making a pumpkin-shaped loaf, and score it. Place it in the hot Dutch oven, reduce the oven temperature to 425°F, and bake according to the recipe instructions.
Sample Baking Schedule #2: Mix in the Morning
This schedule allows you to mix the dough in the morning and either bake it that evening or refrigerate it for the following day.
6:00 a.m. — Feed your starter.
Allow it to rise until it is bubbly, active, and at or near its peak.
10:00 a.m. — Mix the dough.
Once your starter has doubled and is bubbly and active, combine the ingredients, cover the bowl and allow the dough to rest for 30 minutes.
10:30 a.m. — Complete first round of stretch and folds
11:00 a.m. — Complete second round of stretch and folds
11:30 a.m. — Complete third round of stretch and folds
12:00 p.m. — Complete fourth round of stretch and folds and begin bulk fermentation
Cover the bowl during bulk fermentation.
Begin checking the dough later that afternoon. Depending on the temperature of your kitchen and the strength of your starter, it may be ready in approximately 6–10 hours. Look for a dough that is noticeably larger, puffy, and showing bubbles rather than relying on the clock alone.
Once bulk fermentation is complete, choose one of the following options:
Option 1: Bake that evening. Shape the dough and place it in a floured banneton. Allow it to rest while the oven and Dutch oven preheat for approximately 30 minutes, then tie, score, and bake according to the recipe instructions.
Option 2: Refrigerate and bake the following day. Shape the dough, place it in a floured banneton, cover it, and refrigerate overnight. The following day, turn the cold dough onto parchment paper, tie it with baker’s twine if desired, score it, and bake according to the recipe instructions.
Tips for the Best Pumpkin Pie Sourdough Bread
- Use an active starter. Your sourdough starter should be bubbly, risen, and at or near its peak before you mix the dough.
- Watch the dough rather than relying only on time. The temperature of your kitchen and the strength of your starter will affect fermentation. Look for dough that is noticeably larger, puffy, and showing bubbles.
- Use plain pumpkin puree. Pumpkin pie filling already contains sugar and spices and will change the balance of the recipe.
- Expect a sticky dough. The pumpkin adds moisture, so the dough will initially feel tackier than a basic sourdough loaf. It should become smoother and easier to handle with each round of stretch and folds.
- Use food-safe baker’s twine. Regular craft twine may leave fibers or unwanted flavors behind. Do not pull the twine tightly around the unbaked dough because the loaf needs room to expand.
- Allow the loaf to cool completely. Slicing while it is still hot may leave the interior gummy, even when the bread is fully baked.
How to Store Pumpkin Pie Sourdough Bread
Allow the loaf to cool completely before storing it. Keep the bread in a bread bag, bread box, or loosely wrapped at room temperature for up to three days. Avoid refrigerating it, as the refrigerator can cause bread to become stale more quickly.
For longer storage, slice the cooled loaf and place the slices in a freezer-safe bag or container. Freeze for up to three months. Individual slices can be thawed at room temperature or warmed directly from frozen in a toaster.
I like freezing the loaf in slices because it makes it easy to pull out only what we need for breakfast. A warm slice with butter, cream cheese, or apple butter still makes a wonderfully cozy fall breakfast.
Nourishing the Heart
Jesus said, “I am the bread of life; whoever comes to me shall not hunger.” —John 6:35
There is something deeply satisfying about making bread with our own hands. We feed the starter, work and strengthen the dough, wait patiently for it to rise, and finally place a finished loaf on the table for the people we love. Yet even the most nourishing food can meet only a temporary need.
Christ reminds us that He is the Bread of Life—the One who sustains our hearts and satisfies the hunger that nothing in this world can fill. As we prepare the daily bread our families need, may we also remember our daily need for Him. He is faithful to meet us in our kitchens, our ordinary work, and every quiet act of service offered in love.
More Sourdough Recipes From Our Kitchen
Easy No-Knead Artisan Sourdough Bread
How to Make a Simple Pumpkin-Shaped Sourdough Loaf
The Best Homemade Sage Sourdough Stuffing
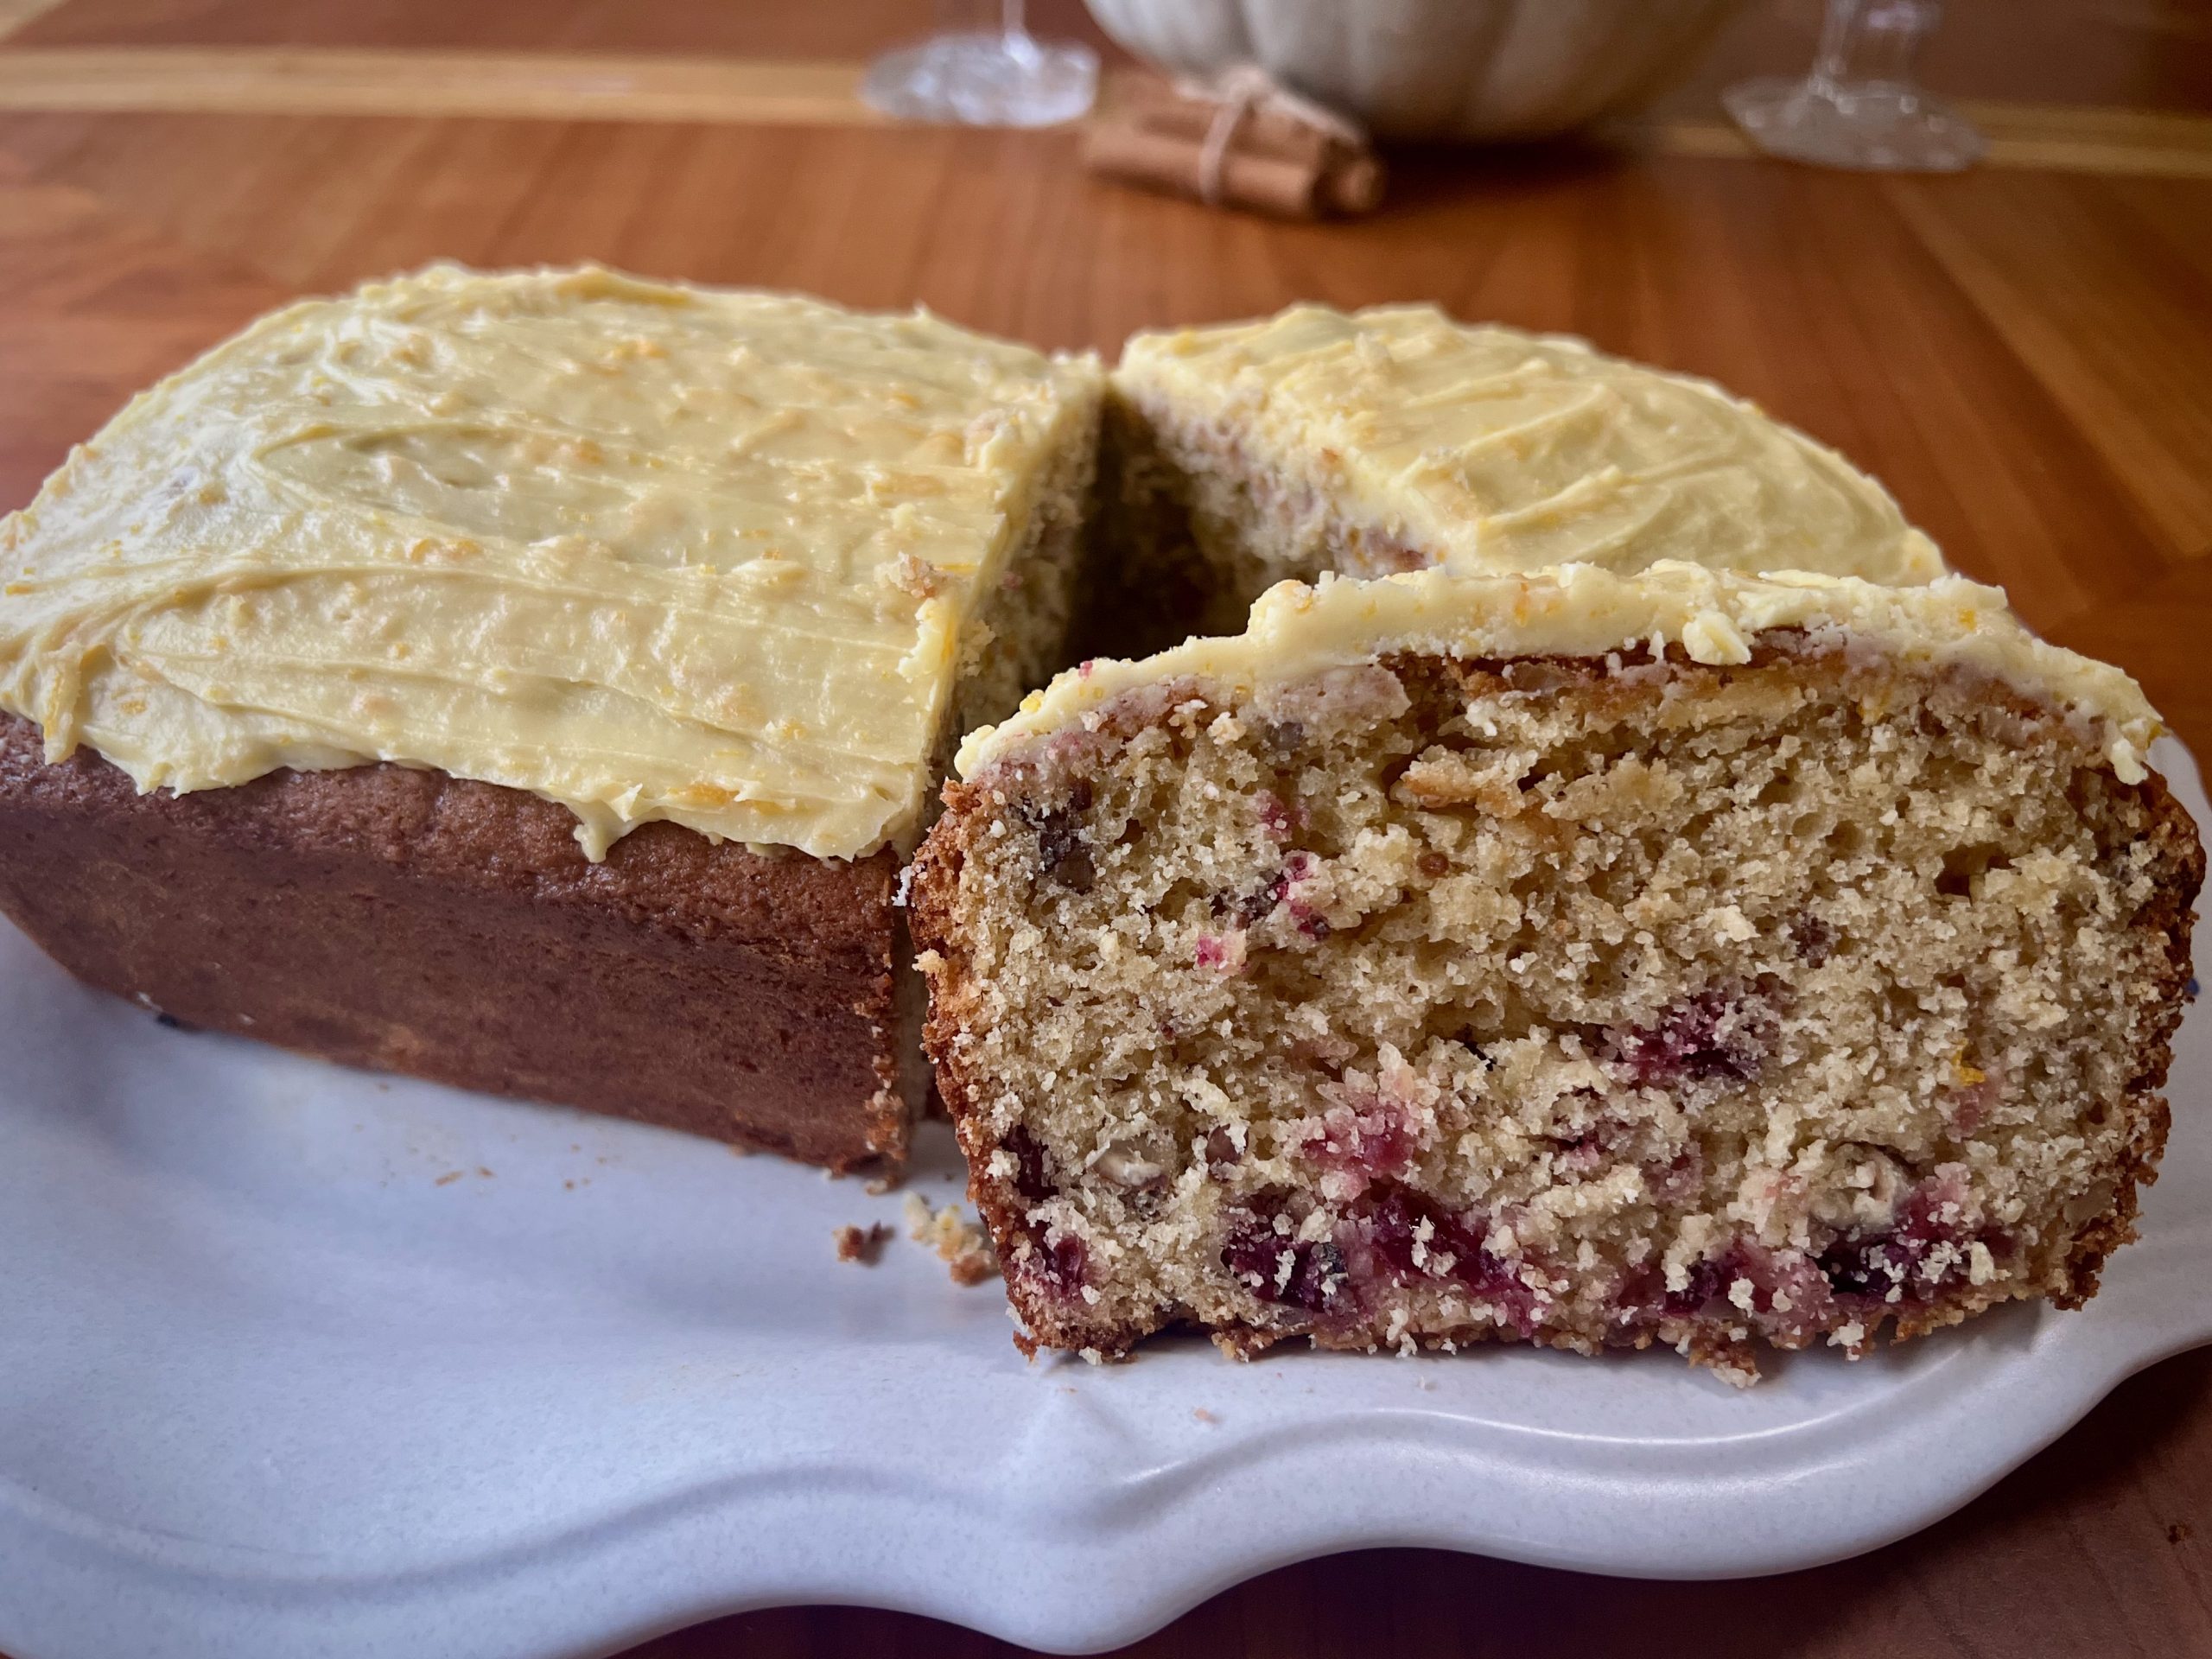
Simple Sourdough Cranberry Orange Loaf
Pumpkin Pie Sourdough Bread
Ingredients
Method
- First weigh and add your active sourdough starter to a large mixing bowl. To the starter add your water by weight. Stir to mix.
- Add half of a can of pumpkin puree to your starter and water, mix well.
- Measure and add your pumpkin pie spice mix, salt and brown sugar. Mix all ingredients till well combined.
- Next weigh your bread flour and add it to your mixture. Mix till combined.
- The dough will be shaggy and very tacky at this point. Cover the bowl and allow the dough to rest for 30 minutes.
- After the 30-minute rest, complete the first round of stretch and folds.
- Cover your bowl, let it rest 30 minutes and repeat the stretch and fold. Stretch and fold your dough every 30 minutes for a total of 4 stretch and folds.
- After the final round of stretch and folds, cover the bowl and allow the dough to bulk ferment for approximately 6–10 hours. The dough should look noticeably larger and puffier, feel lighter, and show bubbles along the sides or surface.
- Gently turn the fermented dough onto a lightly floured work surface. Shape it into a tight boule without pressing out all the air.
- Place the shaped dough into a well-floured banneton with the smooth side facing down and the seam facing up. Pinch together any loose areas along the seam.
- Cover the banneton and allow the dough to rest while the oven and covered Dutch oven preheat to 450°F for approximately 30 minutes.
- Turn the dough onto a sheet of parchment paper. If making a pumpkin-shaped loaf, tie it with food-safe baker’s twine, and then score the dough.
- Carefully lower the dough and parchment paper into the hot Dutch oven. Cover with the lid, reduce the oven temperature to 425°F, and bake for 20 minutes.
- Remove the lid and continue baking for 25–30 minutes, or until the crust reaches your desired color and the center reaches approximately 200°F.
- Transfer the bread to a wire cooling rack and allow it to cool completely before removing the twine and slicing.
Notes
213 grams of pumpkin puree is approximately half of a standard 15-ounce can.



This looks amazing, I can’t wait to try it!!
Thank you! Hope you enjoy it as much as we do!
This sounds so yummy, but also they’re so beautiful! Love the pumpkin shape!
Pinned! This looks so yummy!