

Dried orange slices are such a pretty way to bring a little natural color into your home during the holidays. Their warm orange centers look lovely alongside greenery, tied onto a gift, or strung together with simple twine.
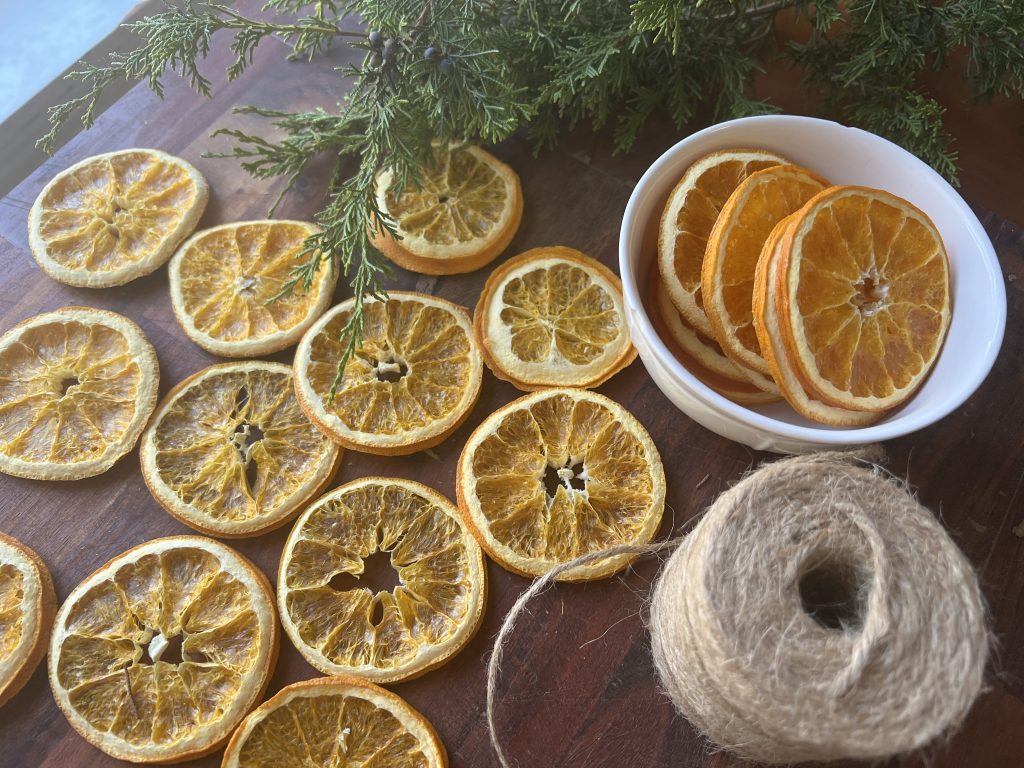
I love decorating with things I can gather from outside or use in more than one way. A batch of dried oranges fits right in with that. You can save the nicest slices for ornaments and garlands, then tuck the smaller or uneven pieces into a simmer pot.
The preparation is simple. Slice the oranges evenly, blot away the surface juice, and give them enough time to dry completely. A dehydrator leaves the oven free for baking, while the oven offers an option if you don’t own one.
Why You Will Love Dried Orange Slices
You only need fresh oranges. There is no sugar or syrup to mix.
You can make as many or as few as your trays will hold.
They work for fall arrangements, Christmas decorating, and homemade gifts.
The ends and less decorative pieces can still be saved for simmer pots or herbal teas.
Tools and Ingredients Needed
This post contains affiliate links. If you purchase through them, I may earn a commission at no extra cost to you. As an Amazon Associate, I earn from qualifying purchases.
Fresh, firm oranges without mold or spoiled spots
Sharp knife and cutting board
Clean kitchen towel or paper towels
Food dehydrator, or an oven with baking sheets and parchment paper
Clean, dry jars or other airtight containers for storage
Optional supplies include twine or ribbon for decorating and food-grade desiccant packets labeled for food storage. You do not need a scale for this project.
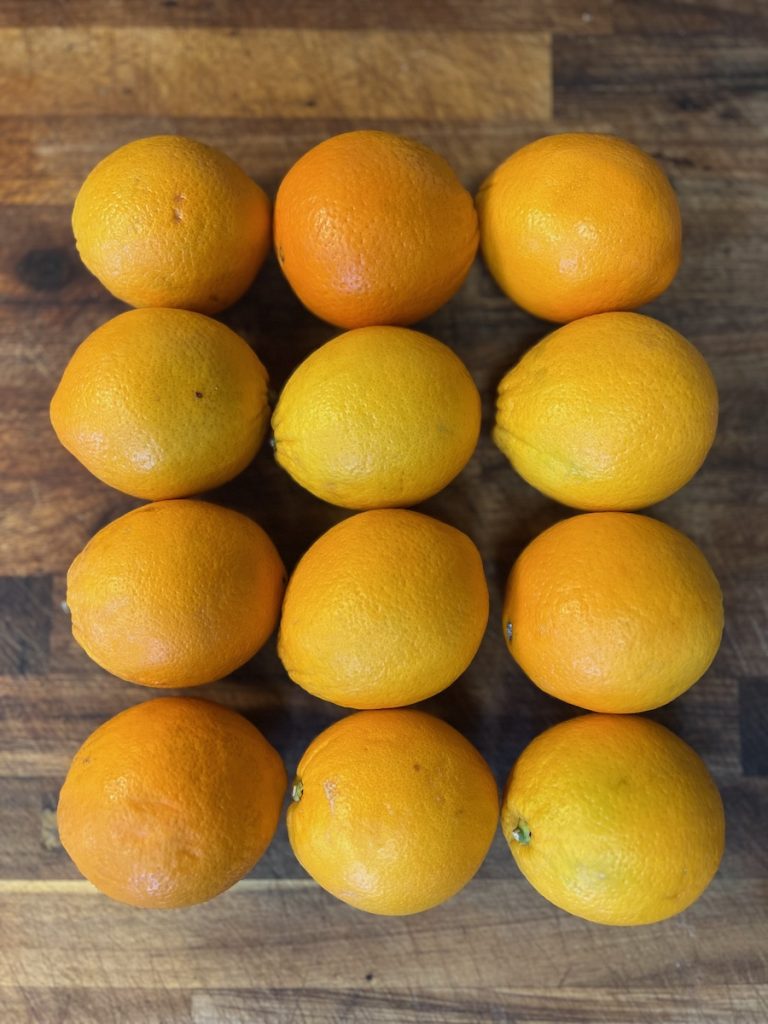
Choosing Oranges for Drying
Choose oranges with sound peels and firm flesh. Round, evenly shaped fruit makes tidy slices, but a slightly lopsided orange can still give you plenty of usable pieces.
Leave the peel on. It helps the slices hold their shape and gives each round its orange border. Slice across the fruit, rather than from stem to blossom end, to show the circular pattern of the segments.
How to Prepare the Orange Slices
Wash and slice
Wash the oranges under running water and dry them. Using a sharp knife, cut off the ends and slice the fruit into rounds about 1/8 inch thick. Try to keep the thickness consistent, especially through the center.
Blot gently
Lay the slices on a clean towel and gently blot both sides. Remove surface juice without squeezing or crushing the flesh.
Arrange in a single layer
Leave a little space around each slice. Even though the oranges shrink as they dry, starting with overlapping slices leaves damp contact spots. Work in batches if necessary.
How to Dry Orange Slices in a Dehydrator
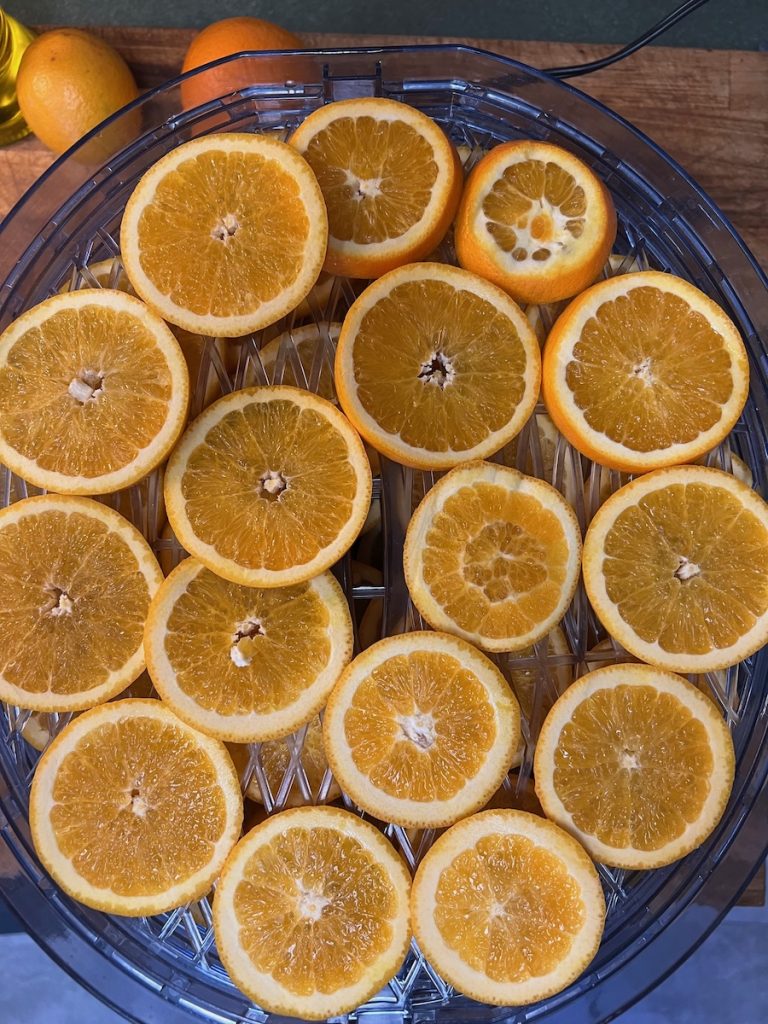
Arrange the prepared rounds on dehydrator trays without overlap, if possible. Set the machine to 140°F (medium on my machine) or follow your manufacturer’s recommended setting for citrus.
Clemson Extension gives an estimated drying time of 12 to 14 hours and recommends turning the slices hourly. Rotate trays if your machine dries unevenly. Remove finished pieces as needed and cool a sample before judging dryness. Thickness, humidity, tray loading, and the machine can change the time.
My slices took a full 24 hours and then I left them on fan only for another 24 hours just to be sure they were completely dry.
How to Dry Orange Slices in the Oven
Set the oven to 175°F, or 170°F if that is your oven’s lowest setting. If neither is available, use the lowest setting without exceeding 200°F. Line your baking sheets with parchment and arrange prepared slices in one layer without touching. Turn every 30 minutes and rotate sheets if needed. Clemson Extension estimates 3 to 5 hours; thicker slices can take longer. Check individual pieces and remove them as they finish. Monitor the oven while drying and finish before going to sleep.
These temperature and timing guidelines come from Clemson Extension’s instructions for decorative dried oranges. Use the condition of the slices, rather than the clock alone, to decide when they are done.
Clemson Extension: Drying Oranges for Holiday Decorations
How to Tell When Orange Slices Are Dry
Let a sample cool before checking it. For decorations, look for a dry center without wet, squishy pockets, especially next to the rind. The flesh becomes thinner and more translucent as it dries; the peel feels firm. If the center still feels damp, give the slices more drying time.
Dryness cannot be judged from color alone. A golden slice can still be damp inside, and a slightly darker slice may be fully dry.
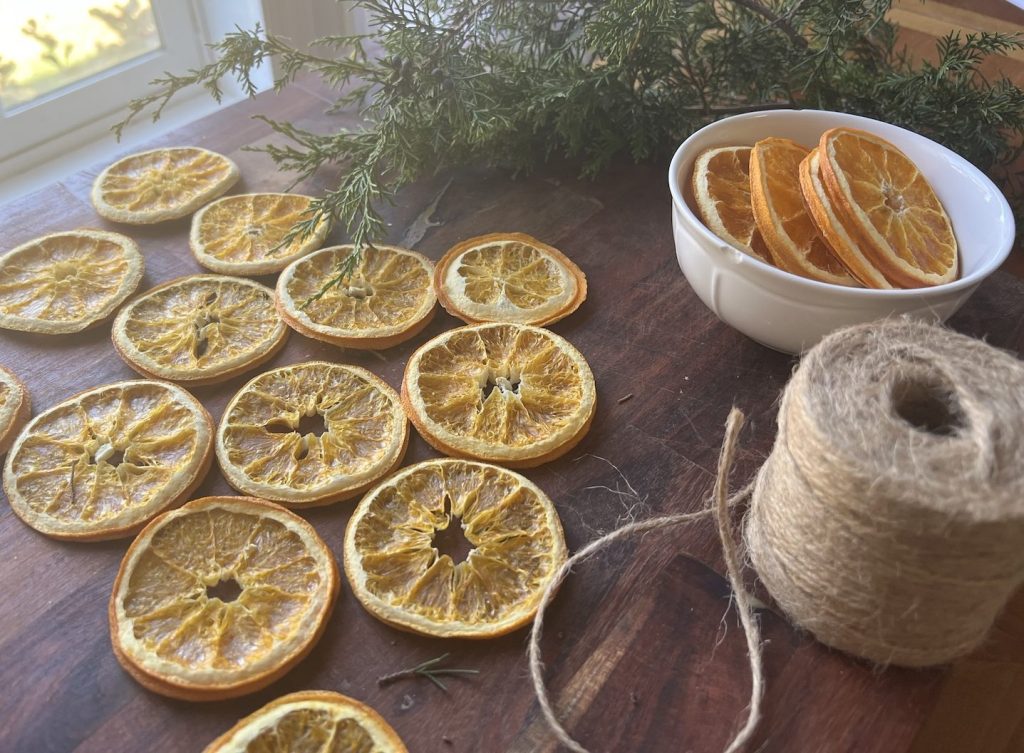
Tips for Pretty Dried Orange Slices
- Keep the slices even. A thin edge and a thick center will finish at different times.
- Keep similar thicknesses together so you can check each tray more easily.
- Use gentle heat. Raising the temperature to hurry the batch can deepen the color before the centers finish drying.
- Check individual pieces. Smaller slices may finish before larger ones.
- Choose a few intact rounds for decorating. Torn slices and odd shapes can go into a simmer pot or an herbal tea.
How to Store Dried Orange Slices
Cool the slices completely before packaging. For fruit intended for storage, condition the cooled pieces in loosely filled, sealed glass or plastic jars for 7 to 10 days. Shake daily and check for condensation. If moisture appears, re-dry the fruit and repeat conditioning. Discard moldy fruit.
After conditioning, store in clean airtight containers somewhere cool, dark, and dry. Label the date and check occasionally for moisture. Open smaller batches as needed. Humidity and storage temperature affect keeping quality, so do not assume that every batch will last until the following Christmas.
National Center for Home Food Preservation: Packaging and Storing Dried Foods
Should you add moisture absorbers to your dried orange slices?
A food-grade desiccant packet labeled for food storage is an optional extra after conditioning. Follow the manufacturer’s directions for the container size. It cannot dry an unfinished batch or make spoiled fruit usable. Keep packets intact, out of children’s reach, and out of anything you serve. I purchased rechargeable, food-grade desiccant packets that can be dried and reused according to the manufacturer’s instructions.
Simple Ways to Use Dried Orange Slices
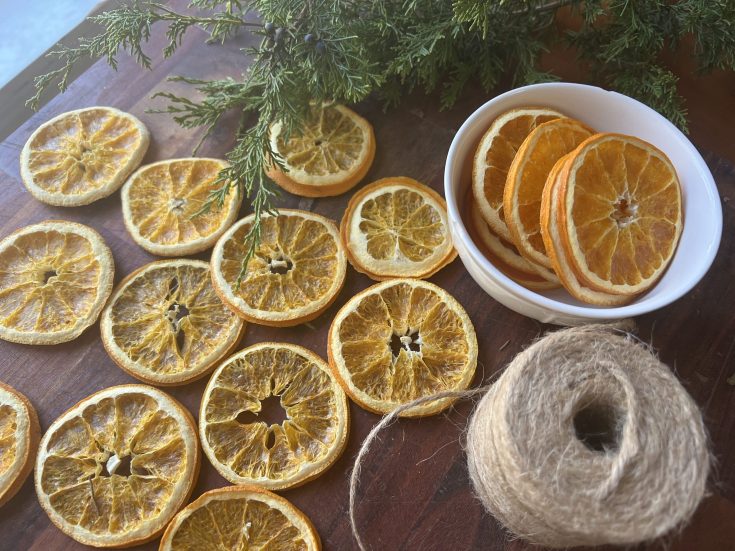
Thread slices onto twine for a garland, tie one onto a wrapped gift, or make a small loop of ribbon for a tree ornament. A few slices tucked into a wreath can add vibrant pops of color without needing a large amount of fruit.
I especially like the idea of pairing them with the cedar greenery we gather from our own trees. The warm orange color looks right at home with green branches, wood, and simple ribbon. Keep dried decorations away from flames and heat sources, and place strings and small pieces beyond little children’s reach.
You can also save dried slices for my Simple Winter Juniper and Orange Simmer Pot. The slices that aren’t quite round enough for an ornament are still useful there.
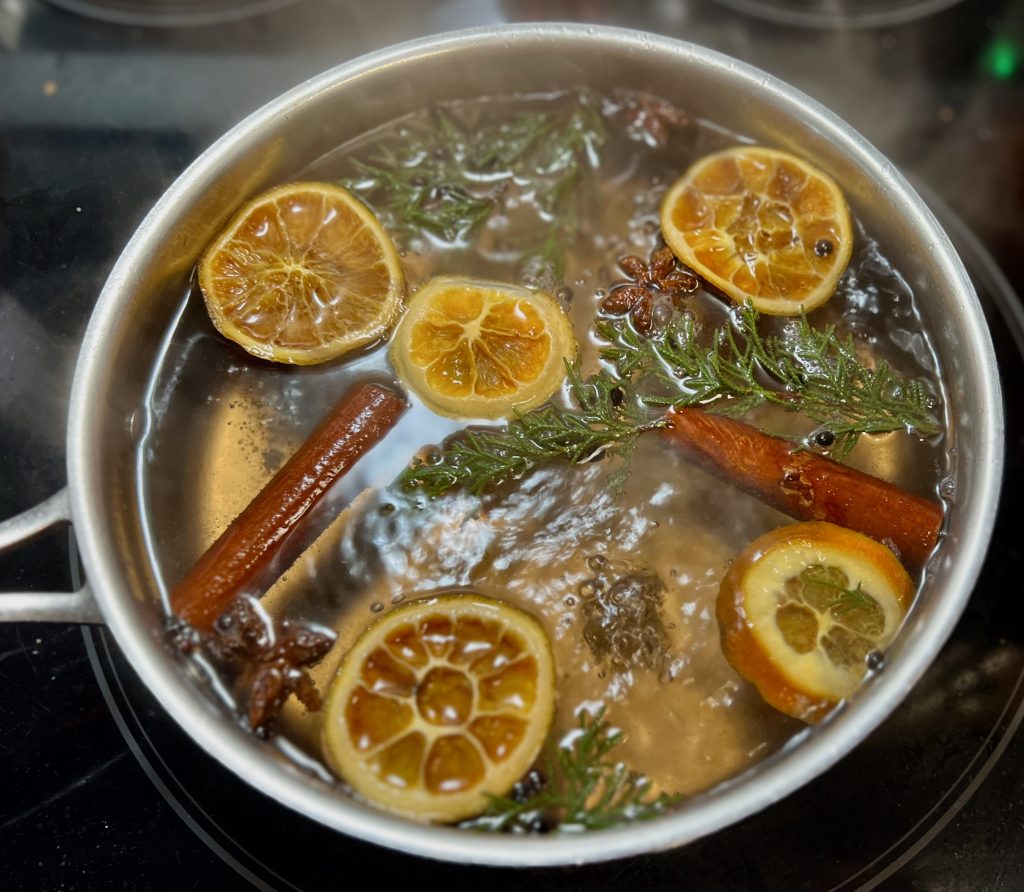
For more ways to use natural materials around your home, visit my fall decorating post;
11 Simple Ways to Make Your Home Feel Cozy for Fall.

Frequently Asked Questions
Do I need to add lemon juice or another treatment?
For this decorative method, use plain orange slices. Clemson Extension’s directions do not require a dip. Thorough drying and suitable storage are still necessary; a treatment does not replace either one.
Why did my orange slices turn brown?
Too much heat or extra time in a hot spot can darken the slices. Check the oven temperature and remove pieces as they finish. Some color change is normal, and the dried rounds will not look exactly like fresh fruit. The first time I dried oranges in my oven, I used wire cooling racks and set the temperature too high. Some slices darkened and developed marks where they rested on the racks.
Can I use thicker slices?
Yes, but they will need longer. Check the thickest part carefully. Thin, consistent rounds are easier to dry evenly and give a more delicate look for ornaments.
Can I eat the slices?
Yes, I sometimes use these for a citrus note in my homemade herbal teas. These dehydrated oranges are beautiful steeping in a mug with a cinnamon stick, a few cloves, and some fresh sliced ginger root, or a bit of marshmallow root. Just don’t use slices that have already been used for crafts and may have glue, paint, or fragrance added to them.
Do the oranges have to be organic?
Organic oranges are not required for decorations or simmer pots. Wash the fruit before slicing either way. Choosing nonorganic oranges does not automatically make the fruit unsuitable for eating either. I personally prefer organic oranges when I’ll be using the rind in food or tea, but wash either kind thoroughly before slicing.
Can I use other citrus?
Other citrus can make pretty decorations too, but do not assume it will dry in exactly the same time. Treat different fruit sizes and thicknesses as separate batches and check each for dryness.
Will dried orange decorations scent the whole room?
Do not count on a garland to fragrance a room. Use the oranges in a simmer pot when you want a more noticeable scent, and monitor the water while it simmers.
What to Do With the Orange Ends
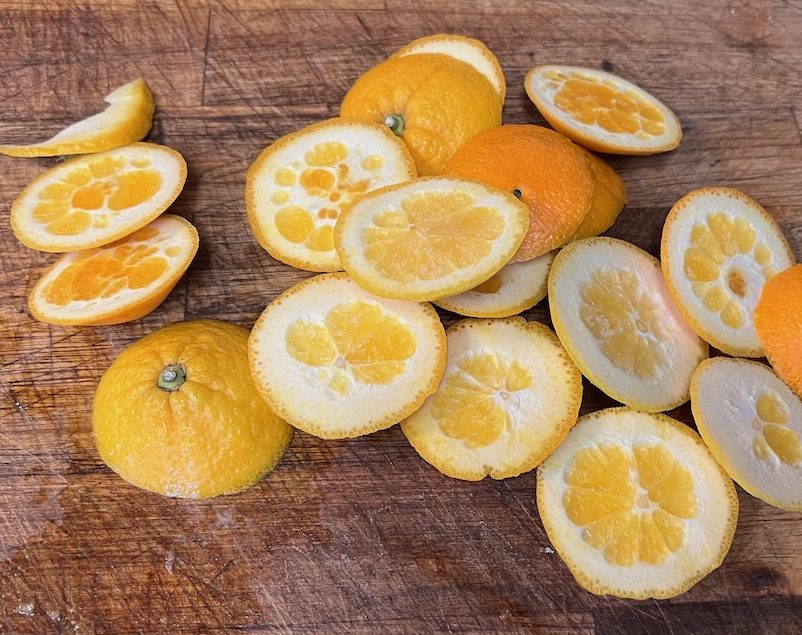
Save the ends in a labeled freezer bag for a future simmer pot. You can add them straight from the freezer when you are ready to use them. This is an easy way to use the scraps when the dehydrator trays are already full.
After I was done dehydrating all of my slices, I dried an additional batch of just ends. Our freezer stays full so I didnt want to add another item.
How to Dry Oranges
Dry orange slices in the oven or dehydrator for natural garlands, ornaments, gift wrapping, and simmer pots. This simple tutorial includes preparation, drying, and storage instructions.
Materials
- Fresh oranges
- Food-grade desiccant packet, optional for storage
Tools
- Sharp knife
- Cutting board
- Clean kitchen towel or paper towels
- Food dehydrator OR oven
- Baking sheets and parchment paper, if using the oven
- Airtight storage containers
Instructions
- Prepare the oranges. Wash and dry the oranges. Trim off the ends and cut into even rounds about ⅛ inch thick. Gently blot both sides with a clean towel to remove surface juice.
- Arrange the slices. Place in a single layer on dehydrator trays or parchment-lined baking sheets. Leave space between slices without touching or overlapping.
- Dry using your preferred method.
- Dehydrator: Set to 130°F. Allow approximately 12–14 hours, turning slices hourly and rotating trays as needed for even drying.
- Oven: Set to 175°F. Allow approximately 3–5 hours, turning slices every 30 minutes and rotating baking sheets as needed. Monitor throughout drying. - Check for dryness. Remove individual slices as they finish. Cool a sample before checking the thickest areas. The centers should feel dry without damp or squishy pockets. Continue drying as needed; thicker slices may take longer.
- Cool and condition. Cool completely, then loosely pack into clean glass jars and seal. Check daily for 7–10 days, gently shaking to separate the slices. If condensation appears, return the slices to the dehydrator and repeat conditioning. Discard any moldy fruit.
- Store. Keep in airtight containers in a cool, dark, dry place. An optional food-grade desiccant packet may be added after conditioning according to its manufacturer’s directions.
Notes
- Drying time varies: Slice thickness, humidity, and equipment affect drying time. Check cooled slices for damp spots before storing.
- Condition before storage: Allow an additional 7–10 days for conditioning. Check jars daily; if condensation appears, dry the slices further and repeat conditioning. Discard moldy fruit.
- Optional moisture absorber: Add a food-grade desiccant packet after conditioning, following the manufacturer’s directions. Recharge reusable packets only as directed.
- Save the ends: Freeze orange ends for future simmer pots.
- Food uses: Keep slices intended for tea or drink garnishes separate from craft materials and decorations.
Nourishing the Heart
I love the thought of making something beautiful from an ordinary inexpensive bag of oranges. A few slices, some twine, and branches gathered from outside can become part of the way we welcome a season into our home.
With a busy family, I don’t always have the time or energy for a big decorating project. Small things feel more manageable. I can prepare a batch of oranges, put some away for later, and decide where to use them when there is room in the day.
There is something to be thankful for in the care God has put into ordinary things. Even the inside of an orange has its own lovely pattern, easy to overlook when we are simply getting everyone fed.
I want to make room to notice those things, and to help my children notice them too. Perhaps that happens while choosing a slice for an ornament or gathering greenery together. It can be a small part of an otherwise ordinary afternoon.




Leave a Reply