

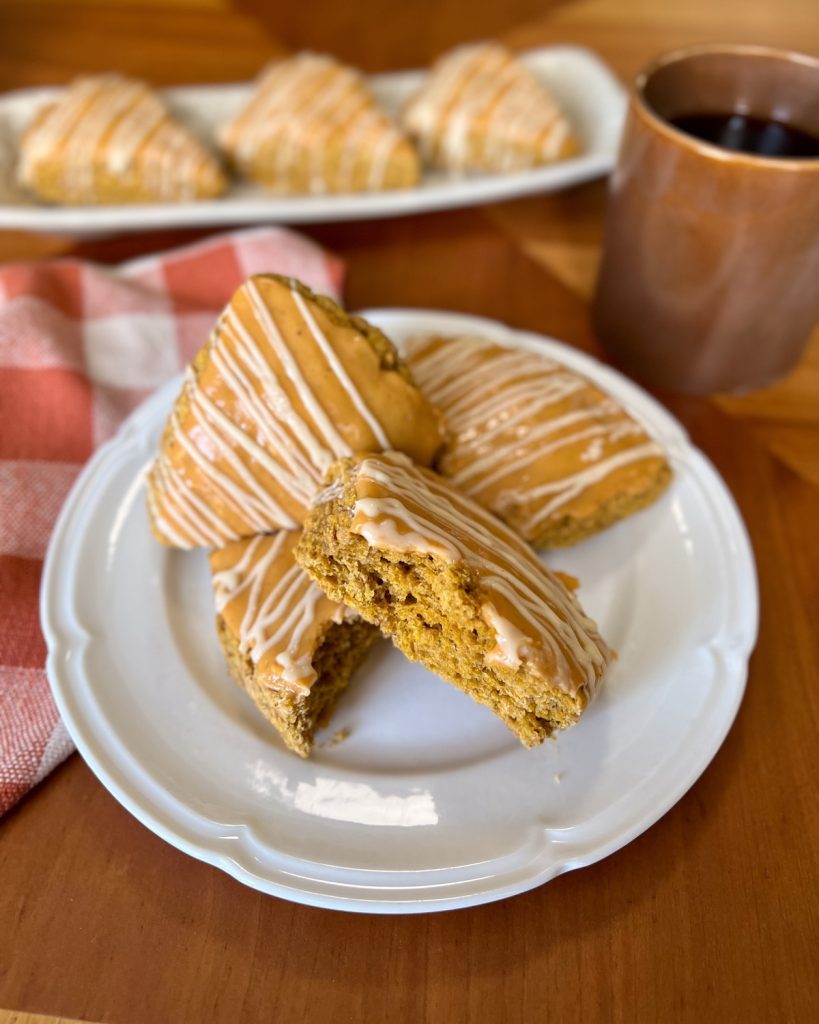
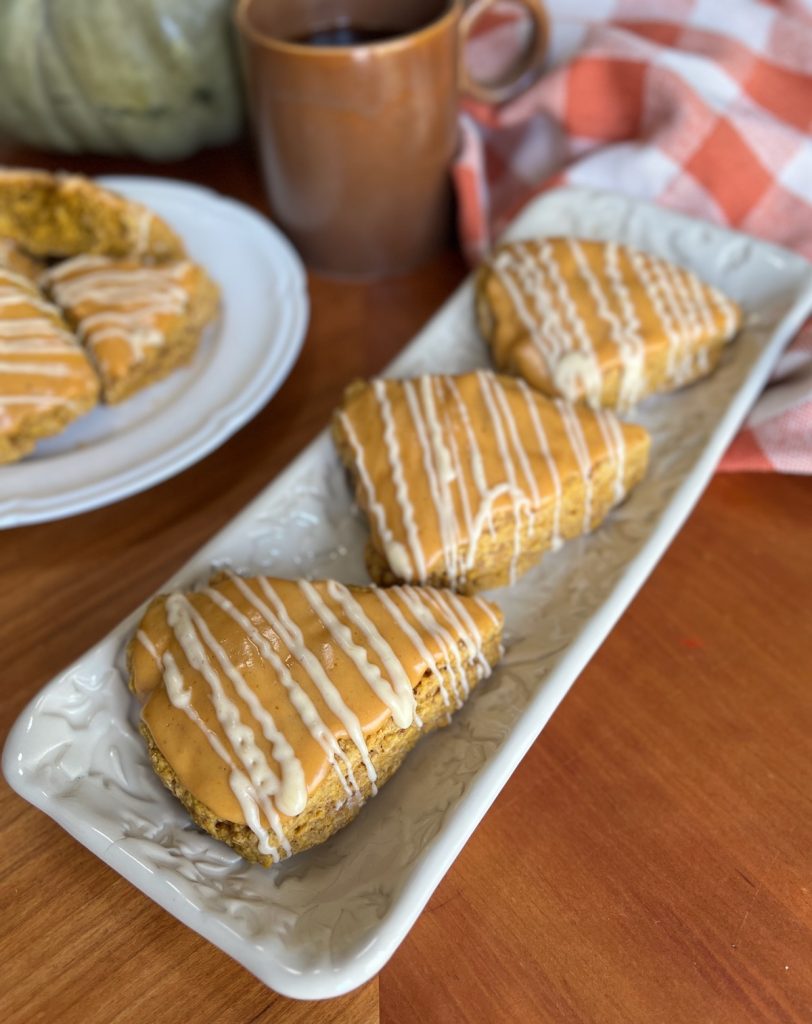
These fresh-milled pumpkin sourdough discard scones are delicious with a hot cup of coffee on a slow fall morning. Filled with pumpkin and cozy fall spices, then finished with a sweet pumpkin-maple glaze and a delicate vanilla drizzle, they turn an ordinary breakfast into something that feels a little more special.
My sourdough starter is not always bubbling happily on the counter. During overwhelming seasons of life, it will often sit completely neglected in the back of my refrigerator for weeks—sometimes even months. Thankfully, sourdough starter is remarkably resilient. Once I begin reviving and strengthening it for bread again, those frequent feedings can leave me with quite a bit of discard to use.
This recipe came from a combination of three things: an abundance of sourdough discard, my love for everything pumpkin at the very onset of fall, and my desire to use fresh-milled flour recipes so my family gets all those nutrients.
I especially wanted to create a bakery-style pumpkin scone with tall, craggy edges and a soft, crumbly and tender center—not one that was dense, dry, or cakey. Made with freshly milled soft white wheat and 150 grams of sourdough discard, these warmly spiced scones make delicious use of ingredients already waiting in the kitchen.
Why You’ll Love This Recipe
- Uses 150 grams of sourdough discard
- Made completely with freshly milled whole-grain flour
- Filled with warm pumpkin-spice flavor
- Soft and tender inside with tall, golden edges
- Makes 12 generously sized scones
- Finished with a sweet pumpkin-maple glaze and vanilla drizzle
- Freezer Friendly recipe either baked or unbaked
Why Fresh-Milled Pumpkin Sourdough Scones Can Become Cakey
Pumpkin makes a scone taste wonderfully rich and seasonal, but it can also make the dough a little tricky. Both pumpkin purée and sourdough discard contribute moisture, and too much can cause the scones to spread in the oven or leave them with a gummy, muffin-like center instead of the tender, crumbly texture we want.
The secret is finding the right balance. In this recipe, the pumpkin purée is limited to 100 grams, the additional moisture is carefully measured, and the butter is kept extremely cold. The dough is mixed and shaped gently, then the cut scones are placed in the freezer for 15 minutes before baking. That short chill helps the butter remain cold long enough for the scones to rise tall in the oven, develop the crispy crumbly edges, the tender centers, and hold their beautiful wedge shape.
Choosing the Best Fresh-Milled Flour
Not every variety of wheat will produce the same kind of scone. For this recipe, I chose soft white wheat because it has less gluten-forming potential and produces a more tender texture. Soft white wheat also has a milder flavor than hard white wheat. These qualities make it a wonderful choice for baked goods like muffins, biscuits, cakes, and—you guessed it—scones!
Does Fresh-Milled Flour Behave Differently Than All-Purpose Flour?
Yes, it absolutely does! Fresh-milled flour retains all of the bran and germ from the wheat berry, making it a more nutritious and flavorful flour. It also absorbs more liquid than prepackaged, store-bought all-purpose flour, although it may take longer to absorb that moisture fully.
This is why many fresh-milled flour recipes include a short resting period. After mixing, allow the scone dough to rest for about five minutes so the freshly milled flour has time to absorb the available moisture.
The finished dough should be soft and tacky. It may stick slightly to your hands as you shape it, but it should still hold its shape when formed into a disc. Resist the urge to immediately add more flour. If the dough is holding its shape, a little tackiness is perfectly fine. Adding too much flour can leave you with dry, crumbly scones.
Tools Used to Make Pumpkin Sourdough Scones
This post contains affiliate links. As an Amazon Associate I earn from qualifying purchases.
- Grain mill
- Digital kitchen scale
- Large mixing bowls
- Whisk
- Pastry cutter
- Bench scraper or sharp knife
- Light-colored metal baking sheets
- Parchment paper
- Wire cooling rack
- Instant-read thermometer
Ingredients You’ll Need
Most of the ingredients in these pumpkin scones are simple pantry staples, but a few thoughtful choices make the difference between a dry, heavy scone and one that is tender and flaky.
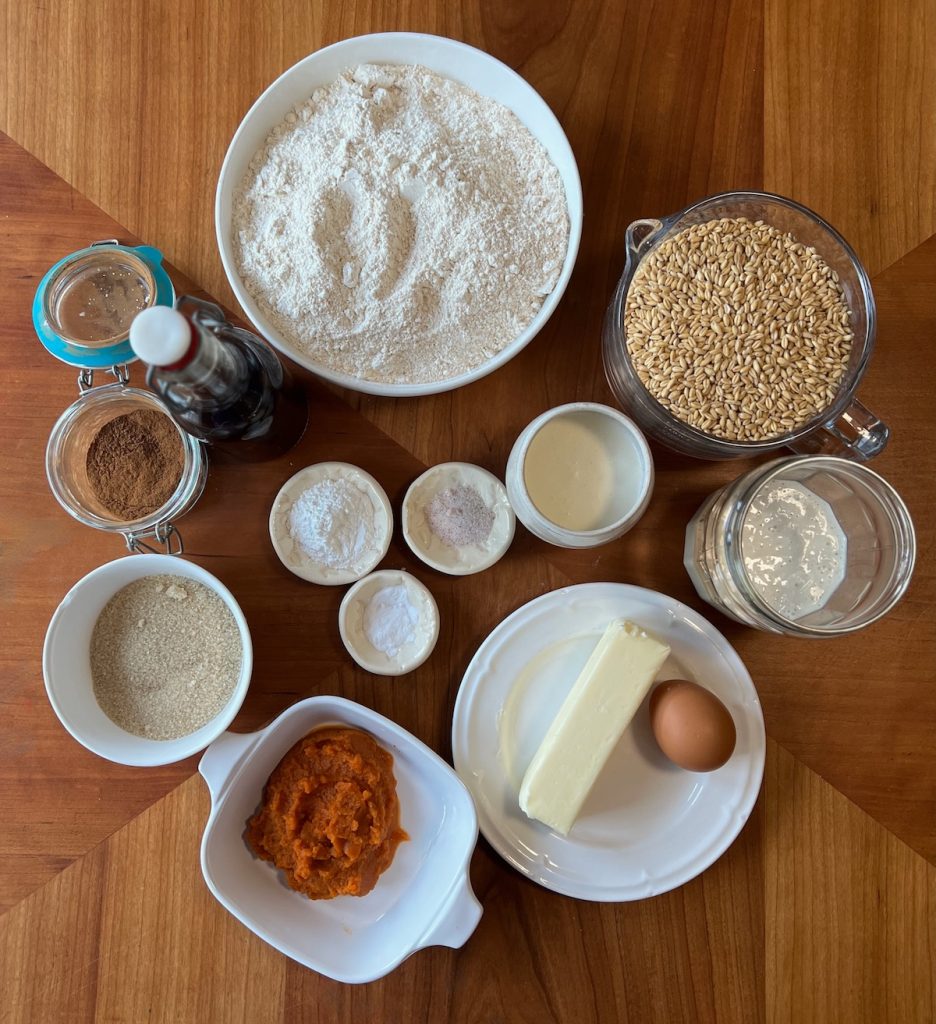
- Freshly milled soft white wheat flour: Soft white wheat gives these whole-grain scones a tender texture and mild flavor.
- Sourdough discard: This recipe uses 150 grams of 100%-hydration sourdough discard. Discard that has recently peaked and begun to fall works especially well.
- Pumpkin purée: Be sure to use plain pumpkin purée rather than sweetened pumpkin pie filling.
- Cold unsalted butter: Small pieces of cold butter create pockets of steam as the scones bake, helping them rise and develop flaky layers.
- Heavy cream: A small amount of cream adds moisture and richness without making the dough overly wet.
- Cane sugar: Cane sugar adds gentle sweetness while still allowing the pumpkin and warm spices to shine.
- Pumpkin pie spice: I use my homemade pumpkin pie spice blend to give the scones their warm fall flavor.
- Baking powder and baking soda: These provide the lift needed for a moist, whole-grain dough.
- Egg: One egg helps bind the dough and gives the scones additional structure.
- Vanilla extract: Vanilla softens and rounds out the pumpkin-spice flavor.
- Pumpkin-maple glaze: Powdered sugar, maple syrup, pumpkin purée, vanilla, cream, lemon juice, and a small pinch of salt create a sweet glaze with just enough brightness to balance it.
How to Make Fresh-Milled Pumpkin Sourdough Discard Scones
1. Mill and Measure the Flour
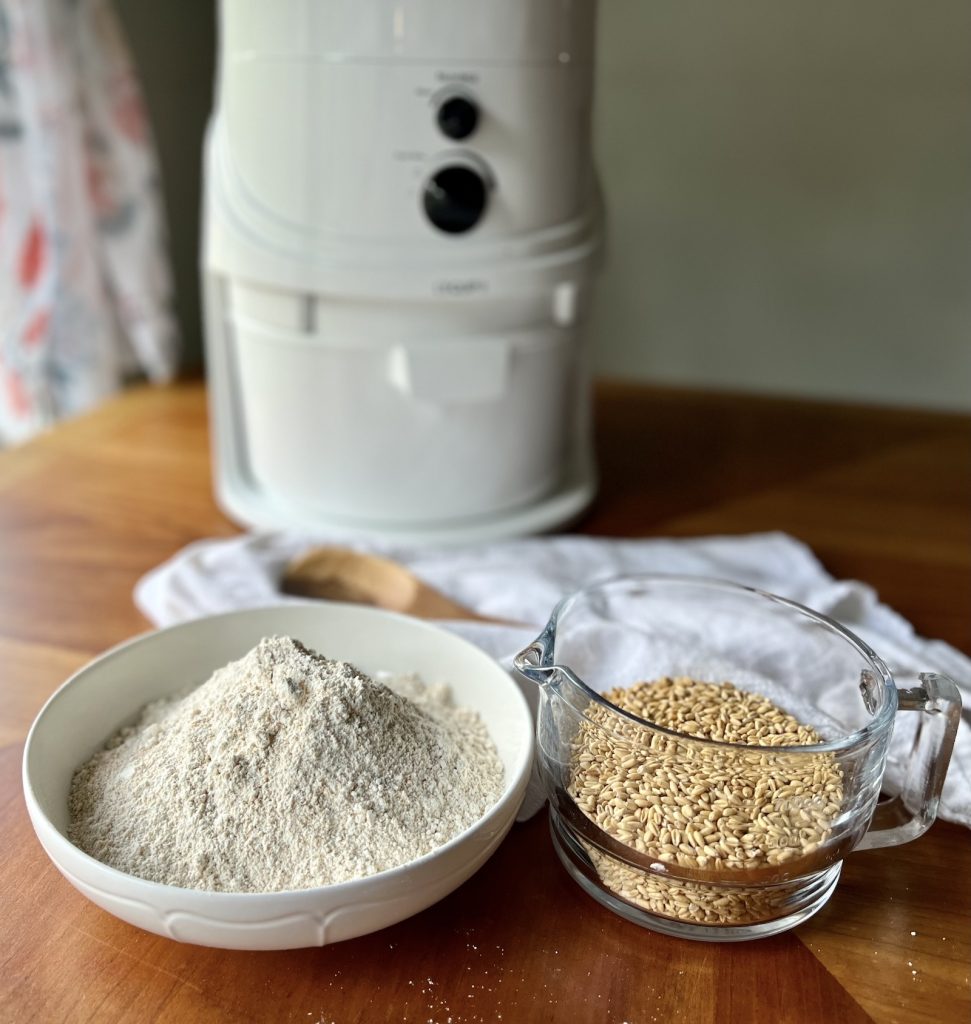
Begin by milling the soft white wheat berries. Weigh the freshly milled flour into a large mixing bowl.
Fresh-milled flour can continue absorbing moisture after the dough is mixed, so resist the temptation to add extra flour immediately if the dough feels a little sticky. A short rest may be all it needs.
2. Combine the Dry Ingredients
Add the cane sugar, baking powder, baking soda, salt, and pumpkin pie spice to the flour. Whisk everything together thoroughly so the leavening and spices are evenly distributed throughout the dough.
3. Cut in the Cold Butter
Add the cold, cubed butter to the dry ingredients. Use a pastry cutter or your fingertips to work it into the flour until most of the butter pieces are about the size of peas, with a few thin flakes remaining.
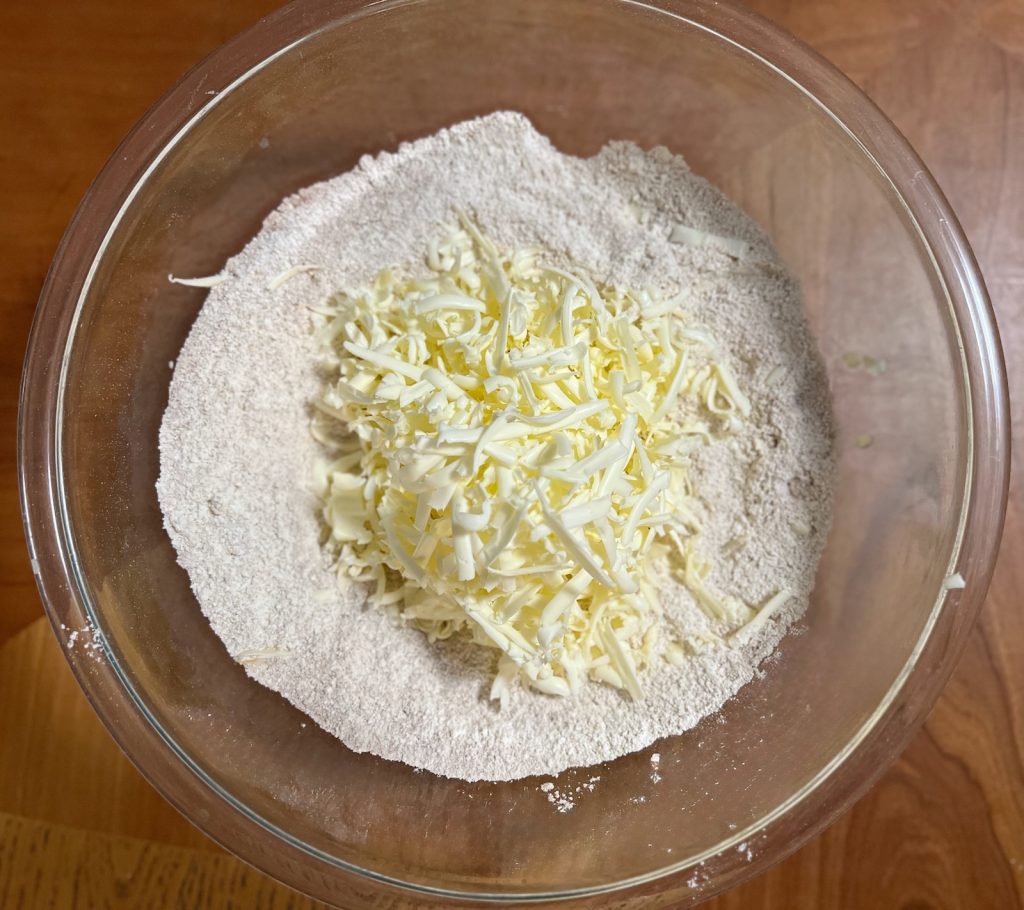
The mixture does not need to look perfectly uniform. Those visible pieces of cold butter are what help create flaky layers in the oven.
Work quickly so the warmth from your hands does not soften the butter.
4. Mix the Wet Ingredients
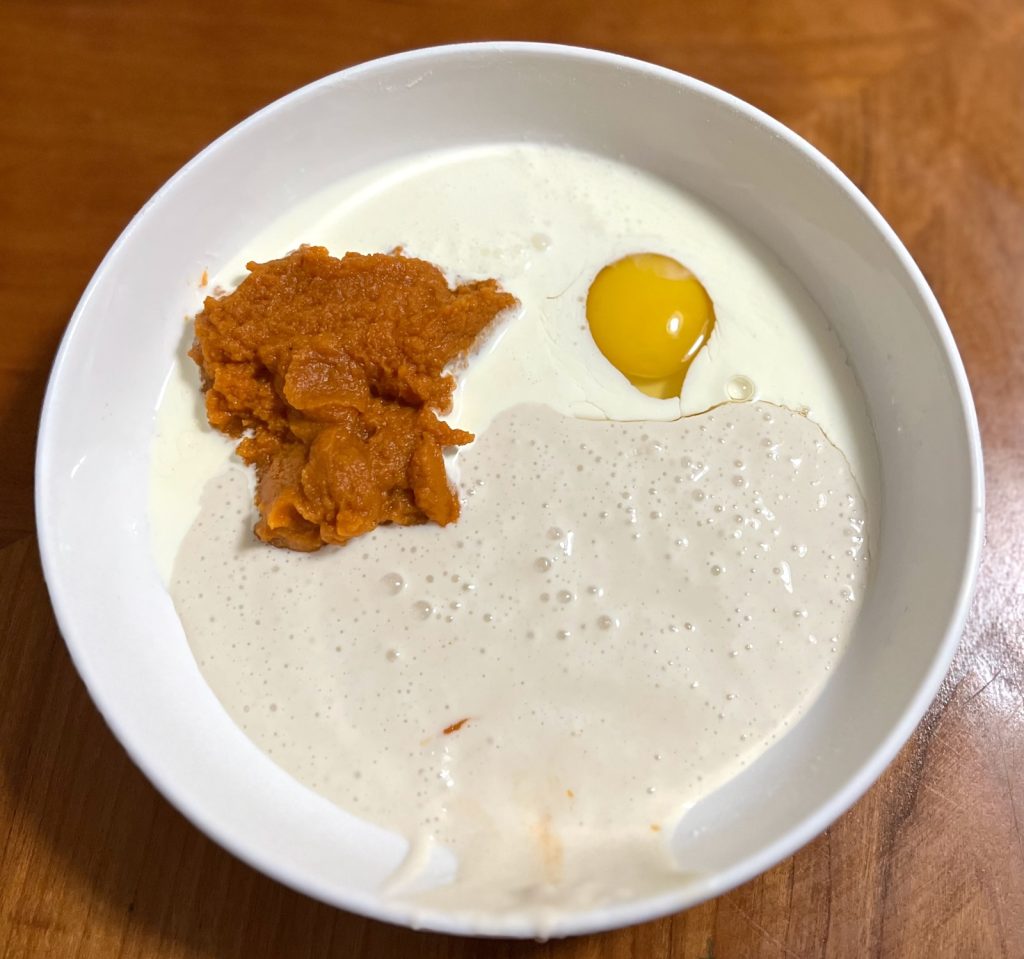
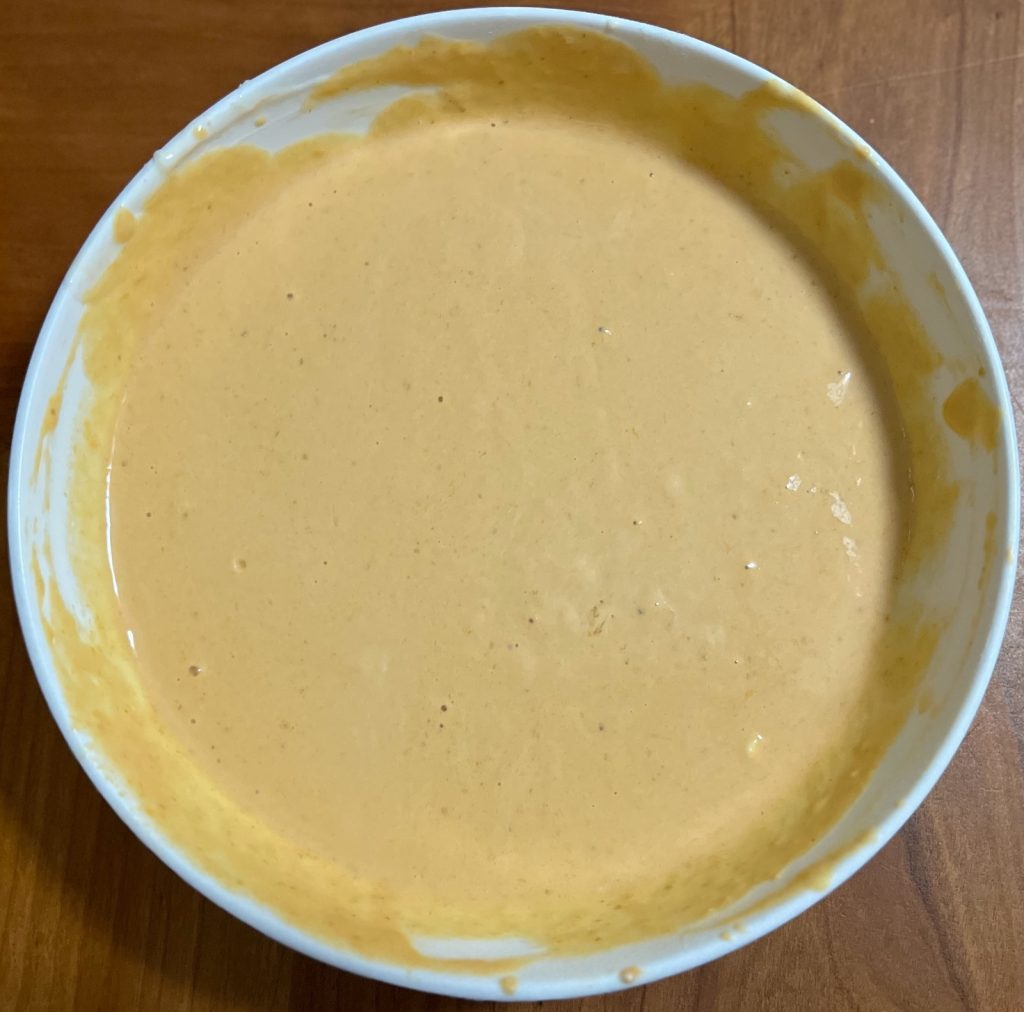
In a separate bowl, whisk together the pumpkin purée, sourdough discard, egg, heavy cream, and vanilla until smooth.
5. Gently Form the Dough
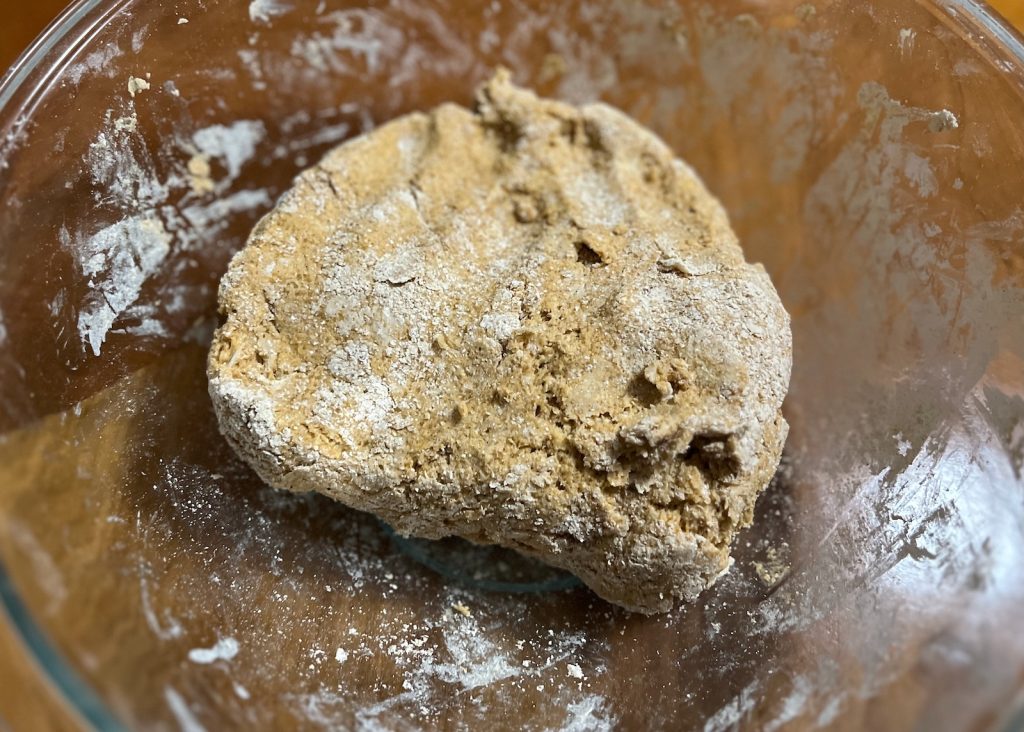
Pour the wet ingredients into the dry ingredients. Fold them together gently until no large pockets of dry flour remain.
The dough will be soft and tacky. Let it rest for 5 minutes before deciding whether it needs any additional flour. Do not knead the dough smooth.
The dough may look slightly rough or shaggy, and that is exactly what we want. Do not knead it until smooth. Overworking the dough can develop too much gluten, break down the cold pieces of butter, and leave the finished scones tougher or more cake-like.
6. Shape and Cut the Scones
Turn the dough onto a lightly floured work surface and divide it in half. Gently shape each half into a disc approximately six inches wide and ¾ to 1 inch thick.
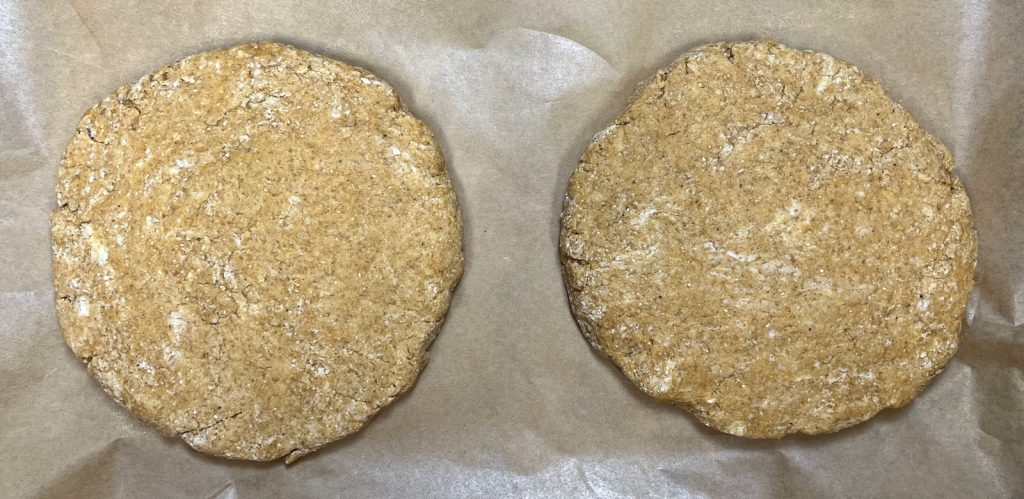
Cut each disc into six wedges, giving you 12 medium scones. Press straight down with a sharp knife or bench scraper rather than sawing through the dough.
Handle the dough as little as possible while shaping it. The warmth from your hands can soften the butter, and pressing too firmly can compress the layers.
7. Chill the Shaped Scones
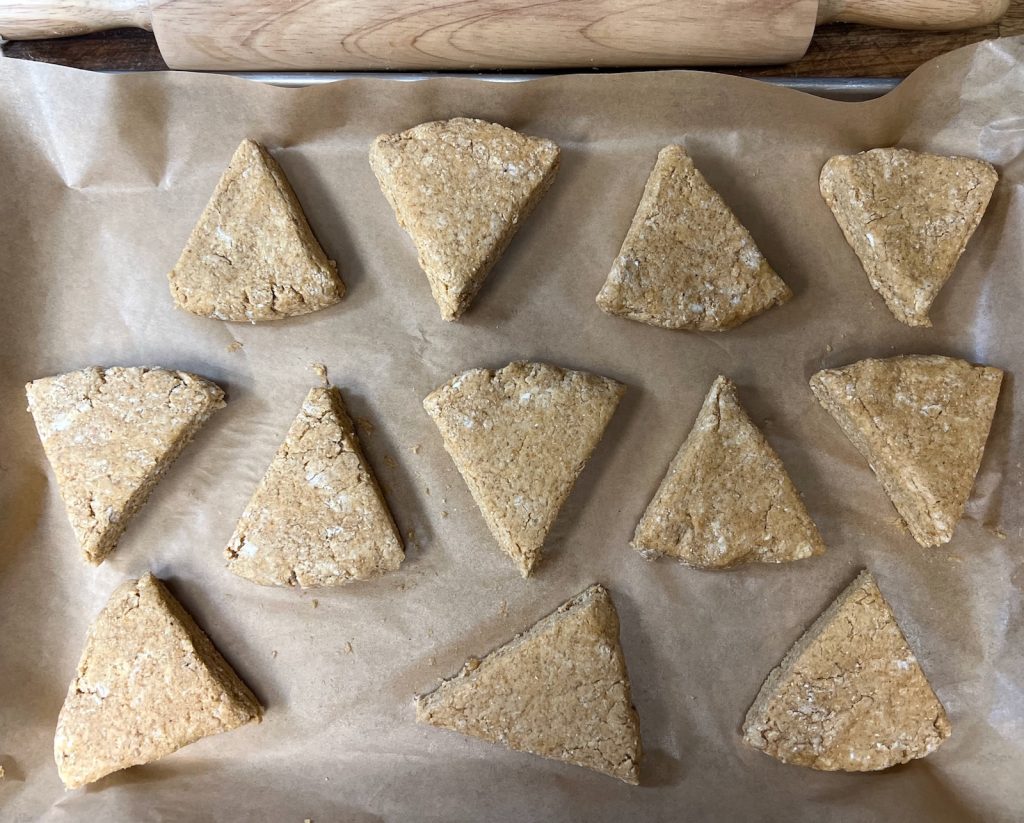
Arrange the wedges about two inches apart on a parchment-lined, light-colored metal baking sheet. Place the entire pan in the freezer for 15 minutes.
This short freezer rest firms the butter and helps the scones hold their shape. Once they enter the hot oven, the cold butter releases steam and encourages the scones to rise upward instead of spreading outward.
8. Bake Until Tall and Golden
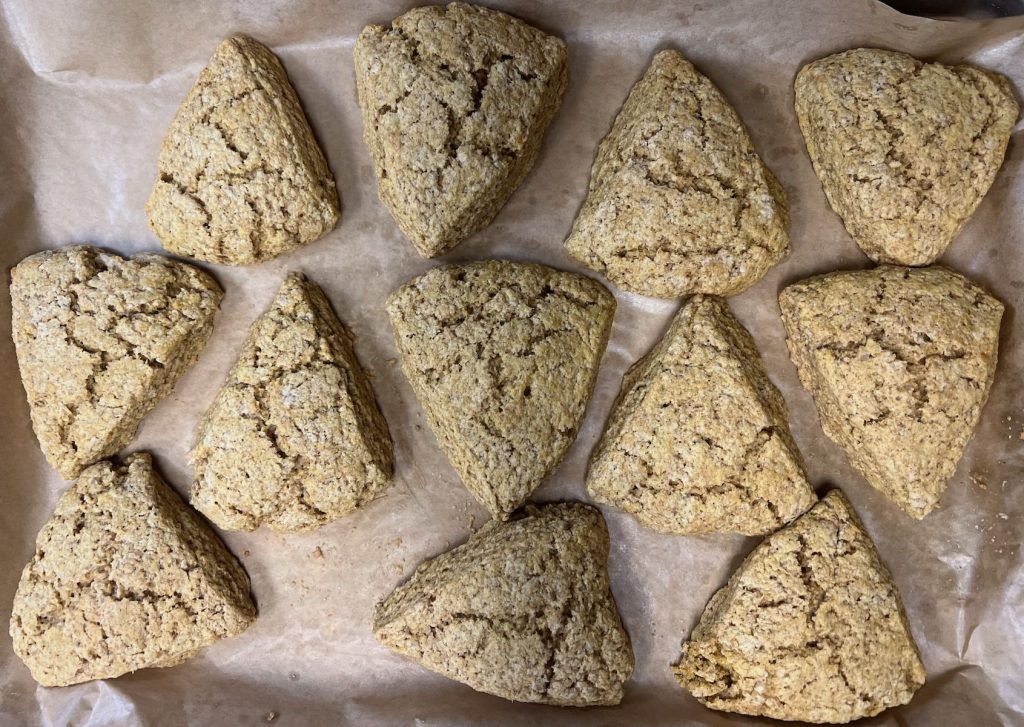
Bake the chilled scones at 400°F for approximately 20–22 minutes, rotating the pan once if your oven browns unevenly.
The scones are finished when they have risen, the edges are lightly golden, and the center of a scone registers approximately 200–205°F. Allow them to cool on the pan for 10 minutes before transferring them to a cooling rack.
Taste one while it is warm if you cannot resist, but wait until the scones have cooled completely before deciding whether the final crumb is properly baked and tender.
Tips for Tall, Flaky Scones
- Begin with cold butter and keep it cold throughout the process.
- Leave visible pieces of butter in the flour instead of blending the mixture completely smooth.
- Mix and shape the dough gently.
- Allow sticky dough to rest for five minutes before adding more flour.
- Shape the discs ¾ to 1 inch thick so the scones have enough height.
- Cut straight down through the dough without twisting or sawing.
- Chill the shaped wedges in the freezer for 15 minutes.
- Use fresh baking powder so the scones receive plenty of lift.
- Bake the scones while they are still cold.
Pumpkin-Maple Glaze
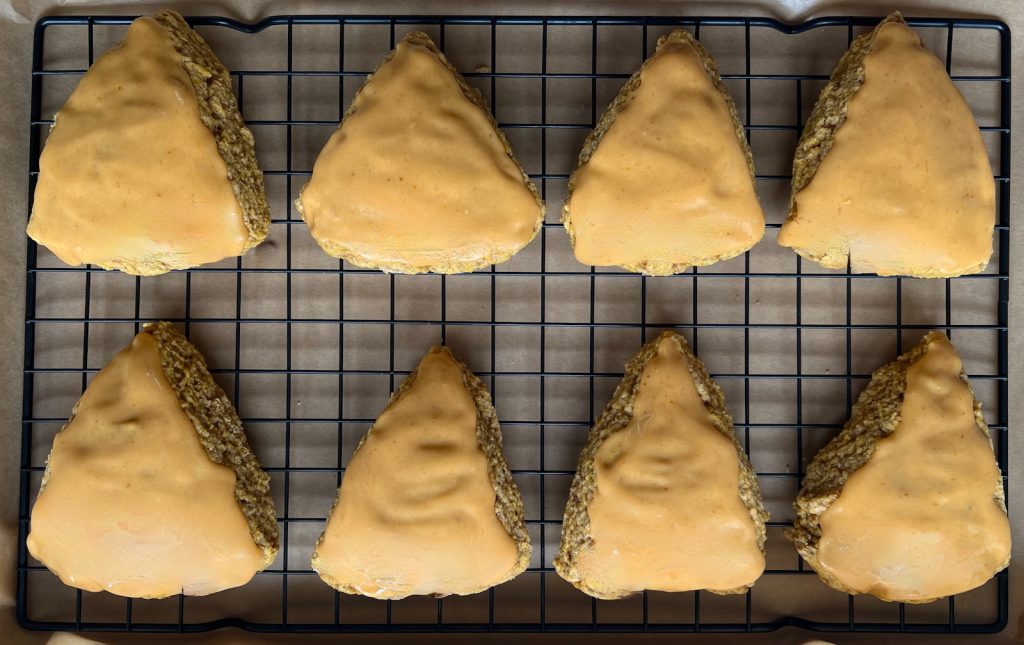
Although these pumpkin scones can be served plain, the pumpkin-maple glaze adds sweetness and makes them feel like a special fall treat.
The glaze combines powdered sugar, maple syrup, a small amount of pumpkin purée, vanilla, cream, lemon juice, and a pinch of salt. The maple complements the warm pumpkin spice, while the lemon brightens the glaze and keeps the sweetness from feeling flat or overpowering.
Begin with less cream and add more gradually until the glaze is thick but drizzleable. It should fall slowly from a spoon and remain visible on top of the scones rather than immediately soaking into them.
Wait until the scones have cooled completely before glazing. If they are still warm, the glaze will melt, become translucent, and run off the edges.
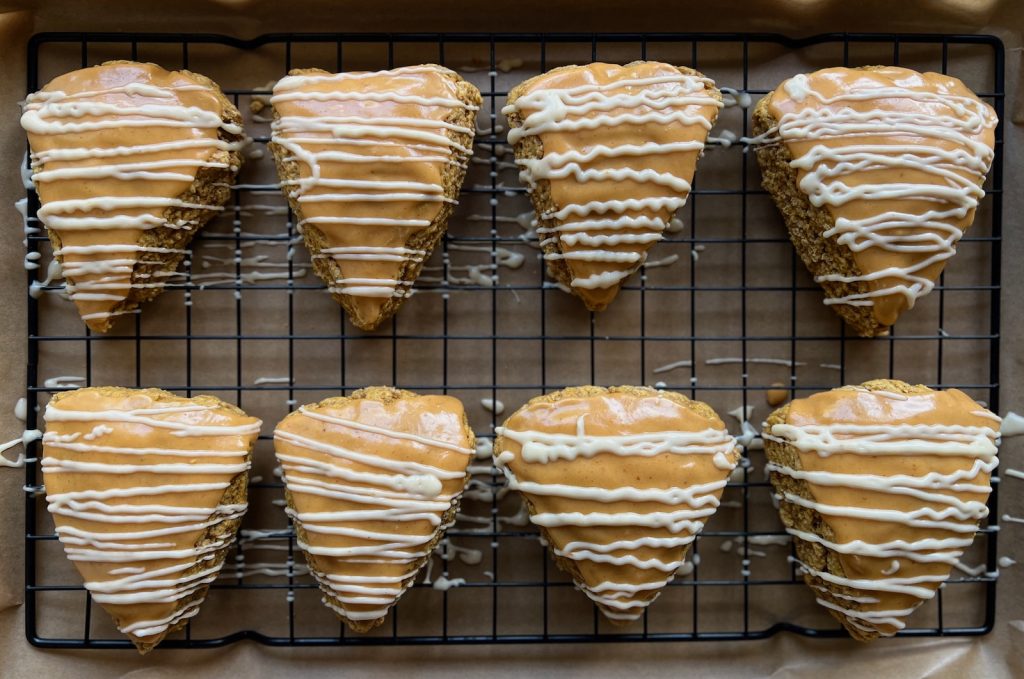
Place the cooled scones on a rack over parchment paper or a baking sheet. Drizzle the glaze back and forth over each one, then allow it to set before serving or storing.
Storage, Freezing, and Reheating
These scones are best enjoyed fresh, but leftovers can be kept in an airtight container at room temperature for up to two days.
For longer storage, place the completely cooled, fully baked scones in a freezer-safe container or bag. If the scones are glazed, allow the glaze to set completely before freezing. Separate stacked scones with parchment paper to protect the glaze.
To reheat, place one frozen baked scone in the microwave for approximately 30 seconds. There is no need to thaw it first. Mine reheated beautifully and was still soft and delicious.
Troubleshooting
Why Did My Scones Spread?
Spreading usually means the butter or dough became too warm before baking. It can also happen when the dough contains too much moisture.
Make sure the butter remains cold, measure the pumpkin and other liquids carefully, and do not skip the 15-minute freezer rest. The scones should go into the oven cold.
Why Are My Scones Gummy in the Center?
A gummy center may mean that the scones are underbaked, shaped too thickly, or made with too much moisture. Check the center with an instant-read thermometer rather than judging by the outside alone. Fully baked scones should reach approximately 200–205°F in the center.
Allow them to cool before evaluating the crumb. Freshly milled baked goods can continue setting as they cool.
Why Are My Scones Dry or Crumbly?
Dry scones may result from adding too much flour, overbaking, or measuring the wet ingredients incorrectly.
Fresh-milled flour continues absorbing moisture as the dough rests. If the dough initially seems sticky, wait five minutes before adding flour. Use the internal temperature and appearance of the edges to determine doneness rather than automatically leaving the scones in the oven for the maximum baking time.

Frequently Asked Questions
Can I Make These Scones With Active Sourdough Starter?
Yes. Active starter and sourdough discard can both be used as long as the starter is at 100% hydration. A very recently fed, highly active starter may affect the dough slightly, but the baking powder and baking soda provide the primary rise in this recipe.
Does the Sourdough Discard Need to Be at Room Temperature?
The discard can be cool, but it should be soft enough to whisk smoothly with the pumpkin, egg, cream, and vanilla. Cold discard can also help keep the dough cool, which is beneficial for preserving the butter pieces.
Can I Freeze the Unbaked Scones?
Can I Freeze the Unbaked Scones?
Yes. Arrange the shaped scones in a single layer and freeze them until firm. Once frozen, transfer them to a freezer-safe container or bag.
Bake the scones directly from frozen without thawing. The frozen scones baked at 400°F for approximately 22 minutes and reached an internal temperature of 200°F. They rose well and retained their tender centers and golden edges.
Can I Use Hard White Wheat?
Hard white wheat contains more protein and will likely produce a firmer, heartier scone. If experimenting with it, begin with 320 grams rather than the 340 grams of soft white wheat called for in this recipe. Allow the mixed dough to rest for five minutes before deciding whether it needs additional flour. Let me know in the comments if you try Hard White Wheat in this recipe and how it works for you? I have not tested it yet.
Can I Leave Off the Glaze?
Absolutely. The scones can be served plain or with softened butter for a less-sweet breakfast. You can also sprinkle the unbaked tops with coarse sugar before chilling and baking them.
Fresh-Milled Pumpkin Sourdough Discard Scones
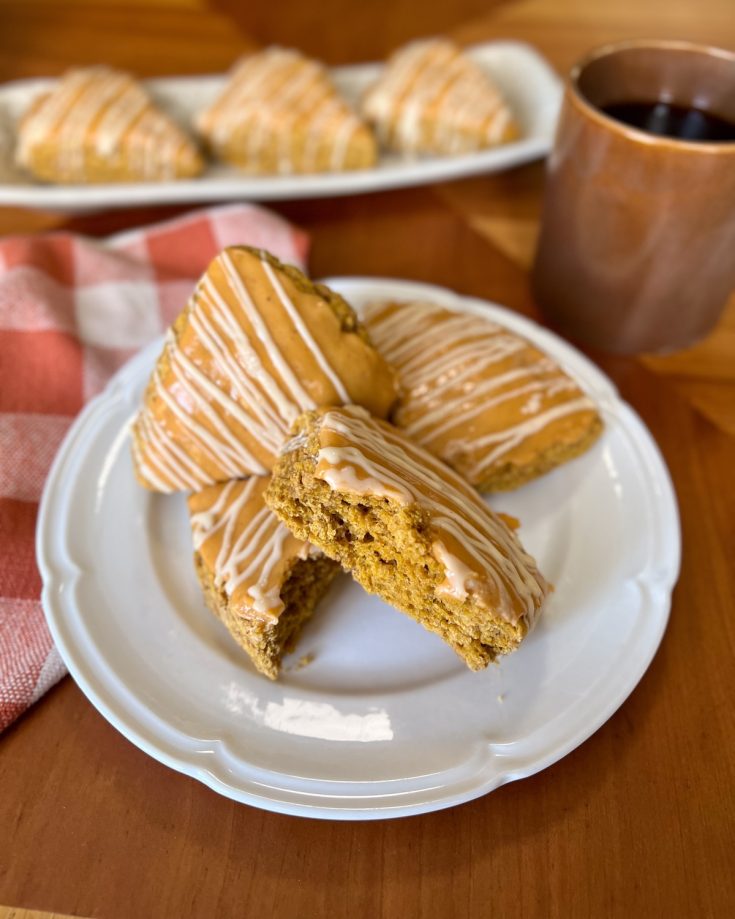
Tender pumpkin sourdough discard scones made with freshly milled soft white wheat flour and warm pumpkin spice. These whole-grain scones have golden edges, soft centers, a sweet pumpkin-maple glaze, and a delicate vanilla drizzle.
Ingredients
Scones
- 340 grams Freshly-Milled Soft White Wheat Flour , finest settings
- 90 grams cane sugar, approximately 1/3 cup plus 1 tablespoon
- 14 grams Baking Powder, 1 tablespoon plus 1/2 teaspoon
- 2 grams Baking Soda, 1/2 teaspoon
- 5 grams Fine Salt, 1/2 teaspoon
- 6 grams Pumpkin Pie Spice, 2 teaspoons
- 142 grams Cold Unsalted Butter, cubed, 10 tablespoons
- 100 grams Plain Pumpkin Puree, approximately 1/3 cup plus 1 tablespoon
- 150 grams Sourdough discard at 110% hydration, approximately 2/3 cup
- 1 large Egg , beaten
- 50 gram Heavy Cream, or about 3 tablespoons
- 5 grams Vanilla Extract, 1 teaspoon
Pumpkin-Maple Glaze
- 150 grams Powdered Sugar, 1 1/4 cups
- 25 grams Pumpkin Puree, approximately 1 tablespoon plus 2 teaspoons
- 20 grams Pure Maple Syrup, 1 tablespoon
- 5 grams Lemon Juice, 1 teaspoon
- 2 grams Vanilla Extract, 1/2 teaspoon
- 2 teaspoons Heavy Cream , start with one and add 1 teaspoon at a time more if needed
- a pinch of Salt
White Vanilla Drizzle
- 1 to 2 teaspoons Prepared Pumpkin-Maple Glaze , reserve before icing
- 40 grams Powdered Sugar , about 1/3 cup
- a few drops lemon juice
- Tiny pinch of salt
- Heavy Cream , as needed to thin
Instructions
- Preheat the oven to 400°F. Line a light-colored metal baking sheet with parchment paper.
- In a large mixing bowl, whisk together the freshly milled flour, cane sugar, baking powder, baking soda, salt, and pumpkin pie spice.
- Add the cold, cubed butter. Use a pastry cutter or your fingertips to work the butter into the flour until most of the pieces are about the size of peas, with a few larger, flat pieces remaining. Work quickly so the butter stays cold.
- In a separate bowl, whisk together the pumpkin purée, sourdough discard, egg, heavy cream, and vanilla until smooth.
- Pour the wet ingredients into the dry ingredients. Fold gently until no large pockets of dry flour remain. Do not knead the dough smooth.
- Let the mixed dough rest in the bowl for 5 minutes so the freshly milled flour can absorb the moisture.
- After resting, the dough should be soft and tacky but able to hold its shape. It may stick slightly to your hands. Do not add additional flour as long as the dough holds together when shaped.
- Turn the dough onto a lightly floured work surface and divide it in half. Gently shape each half into a disc approximately 6 inches wide and ¾ to 1 inch thick.
- Cut each disc into 6 wedges, pressing straight down with a sharp knife or bench scraper. Do not saw through the dough.
- Arrange the 12 wedges approximately 2 inches apart on the prepared baking sheet.
- Place the shaped scones in the freezer for 15 minutes.
- Transfer the scones directly from the freezer to the preheated oven. Bake at 400°F for 20 minutes, or until the scones have risen, the edges are lightly golden, and the center of a scone reaches approximately 200–205°F. The final tested batch reached 201°F.
- Allow the scones to cool on the pan for 5–10 minutes. Transfer them to a wire cooling rack and allow them to cool completely before glazing.
- To make the pumpkin-maple glaze, whisk together the powdered sugar, pumpkin purée, maple syrup, lemon juice, vanilla, salt, and 2 teaspoons of heavy cream. The glaze should be thick and spreadable rather than thin and runny. Add only a small amount of additional cream if needed.
- Reserve 1 teaspoon of the pumpkin-maple glaze for the white drizzle. Spread the remaining glaze over the completely cooled scones. Allow it to set slightly.
- To make the white drizzle, combine the reserved teaspoon of pumpkin glaze with the powdered sugar, a few drops of lemon juice, a tiny pinch of salt, and just enough heavy cream to create a thin but visible drizzle.
- Drizzle the white glaze back and forth over the pumpkin-glazed scones. Allow the glaze to set before serving or storing.
Notes
- The dough should be soft and tacky but should still hold its shape when formed into a disc. Resist adding extra flour unless the dough is too wet to hold any shape.
- Use plain pumpkin purée, not sweetened pumpkin pie filling.
- The sourdough discard may be cool or at room temperature, but it should be soft enough to whisk smoothly into the wet ingredients.
- Keep the butter and shaped scones cold. The 15-minute freezer rest helps the scones hold their wedge shape and rise upward rather than spreading.
- Wait until the scones are completely cool before glazing them. Glaze applied to warm scones will melt and run off.
- For a less-sweet scone, leave off both glazes and serve the scones plain or with softened butter.
- A fully baked frozen scone can be reheated directly from frozen in the microwave for approximately 30 seconds.
Nutrition Information
Yield
12Serving Size
1Amount Per Serving Calories 332Total Fat 12gSaturated Fat 7gUnsaturated Fat 5gCholesterol 45mgSodium 439mgCarbohydrates 51gFiber 1gSugar 22gProtein 5g
Nutritional information is provided as an estimate only and may vary depending on the specific ingredients and brands used. Optional toppings and add-ins are not included.
Nourishing the Heart
There is something deeply satisfying about taking an ingredient that might otherwise be discarded and turning it into something beautiful and nourishing for our families. Sourdough discard can seem insignificant—just a little leftover starter in a jar—but in willing hands, even small provisions can become enough to share.
After Jesus fed the multitude, He told His disciples, “Gather up the fragments that remain, that nothing be lost” (John 6:12). This was not anxious hoarding. It was faithful stewardship: recognizing the value of what God had provided and treating it with care.
Much of the work we do in our homes can feel equally small. We feed a starter, mill a bowl of flour, prepare another breakfast, and clean the kitchen again. Yet these ordinary acts are part of the quiet work of caring for the people God has entrusted to us.
We do not need to make perfect use of every crumb to earn His approval. Instead, we can receive His provision with gratitude and faithfully use what is already in our hands. Sometimes that looks like gathering leftover sourdough starter and turning it into warm pumpkin scones for the people gathered around our table.
More Fresh-Milled Pumpkin Recipes
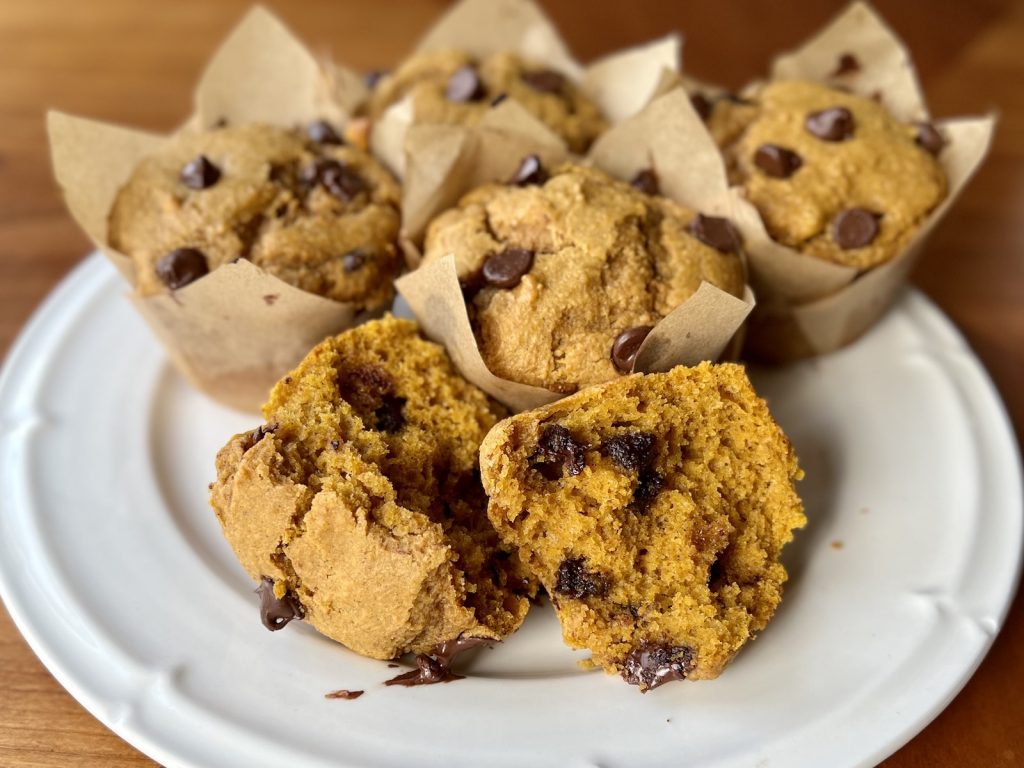
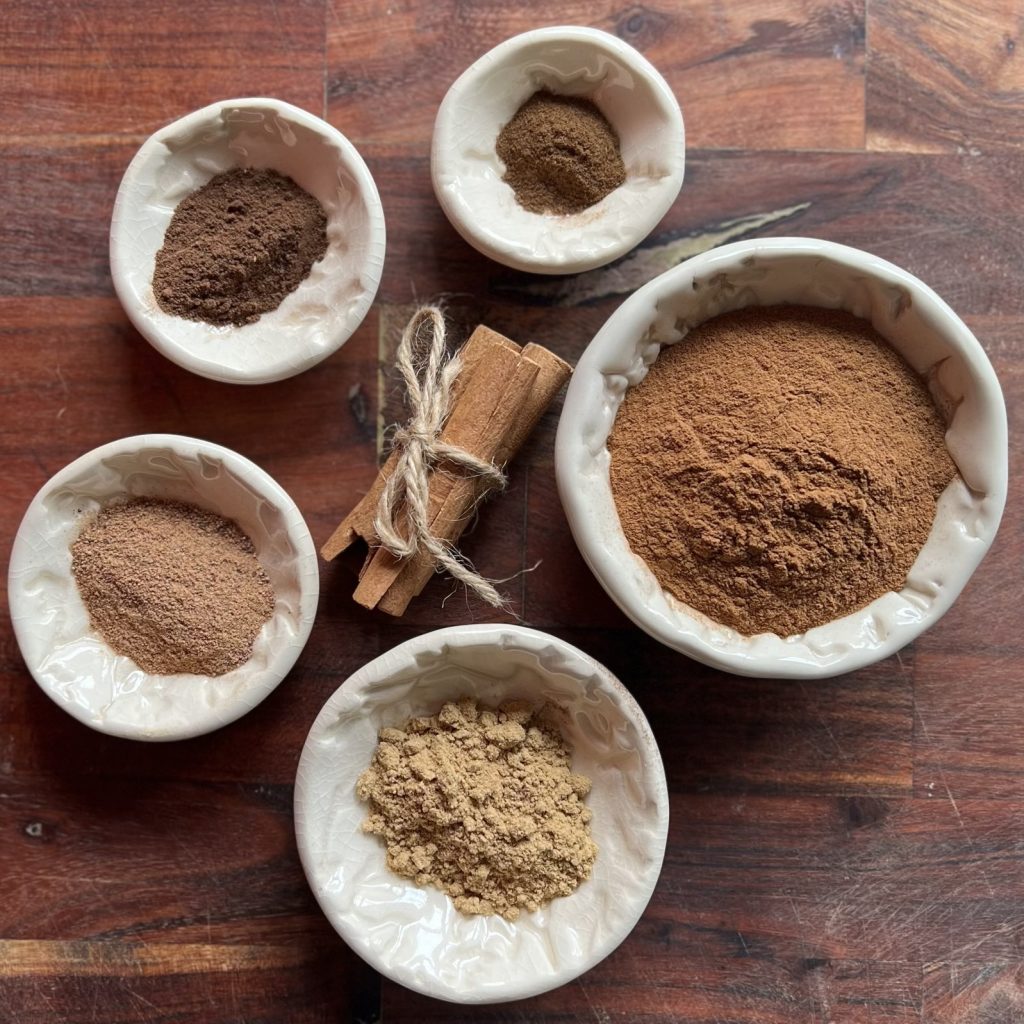
If you are looking for more ways to enjoy pumpkin and freshly milled flour this fall, try:



Leave a Reply